Laser Tree K20 Longer Ray5 Mounting Guide
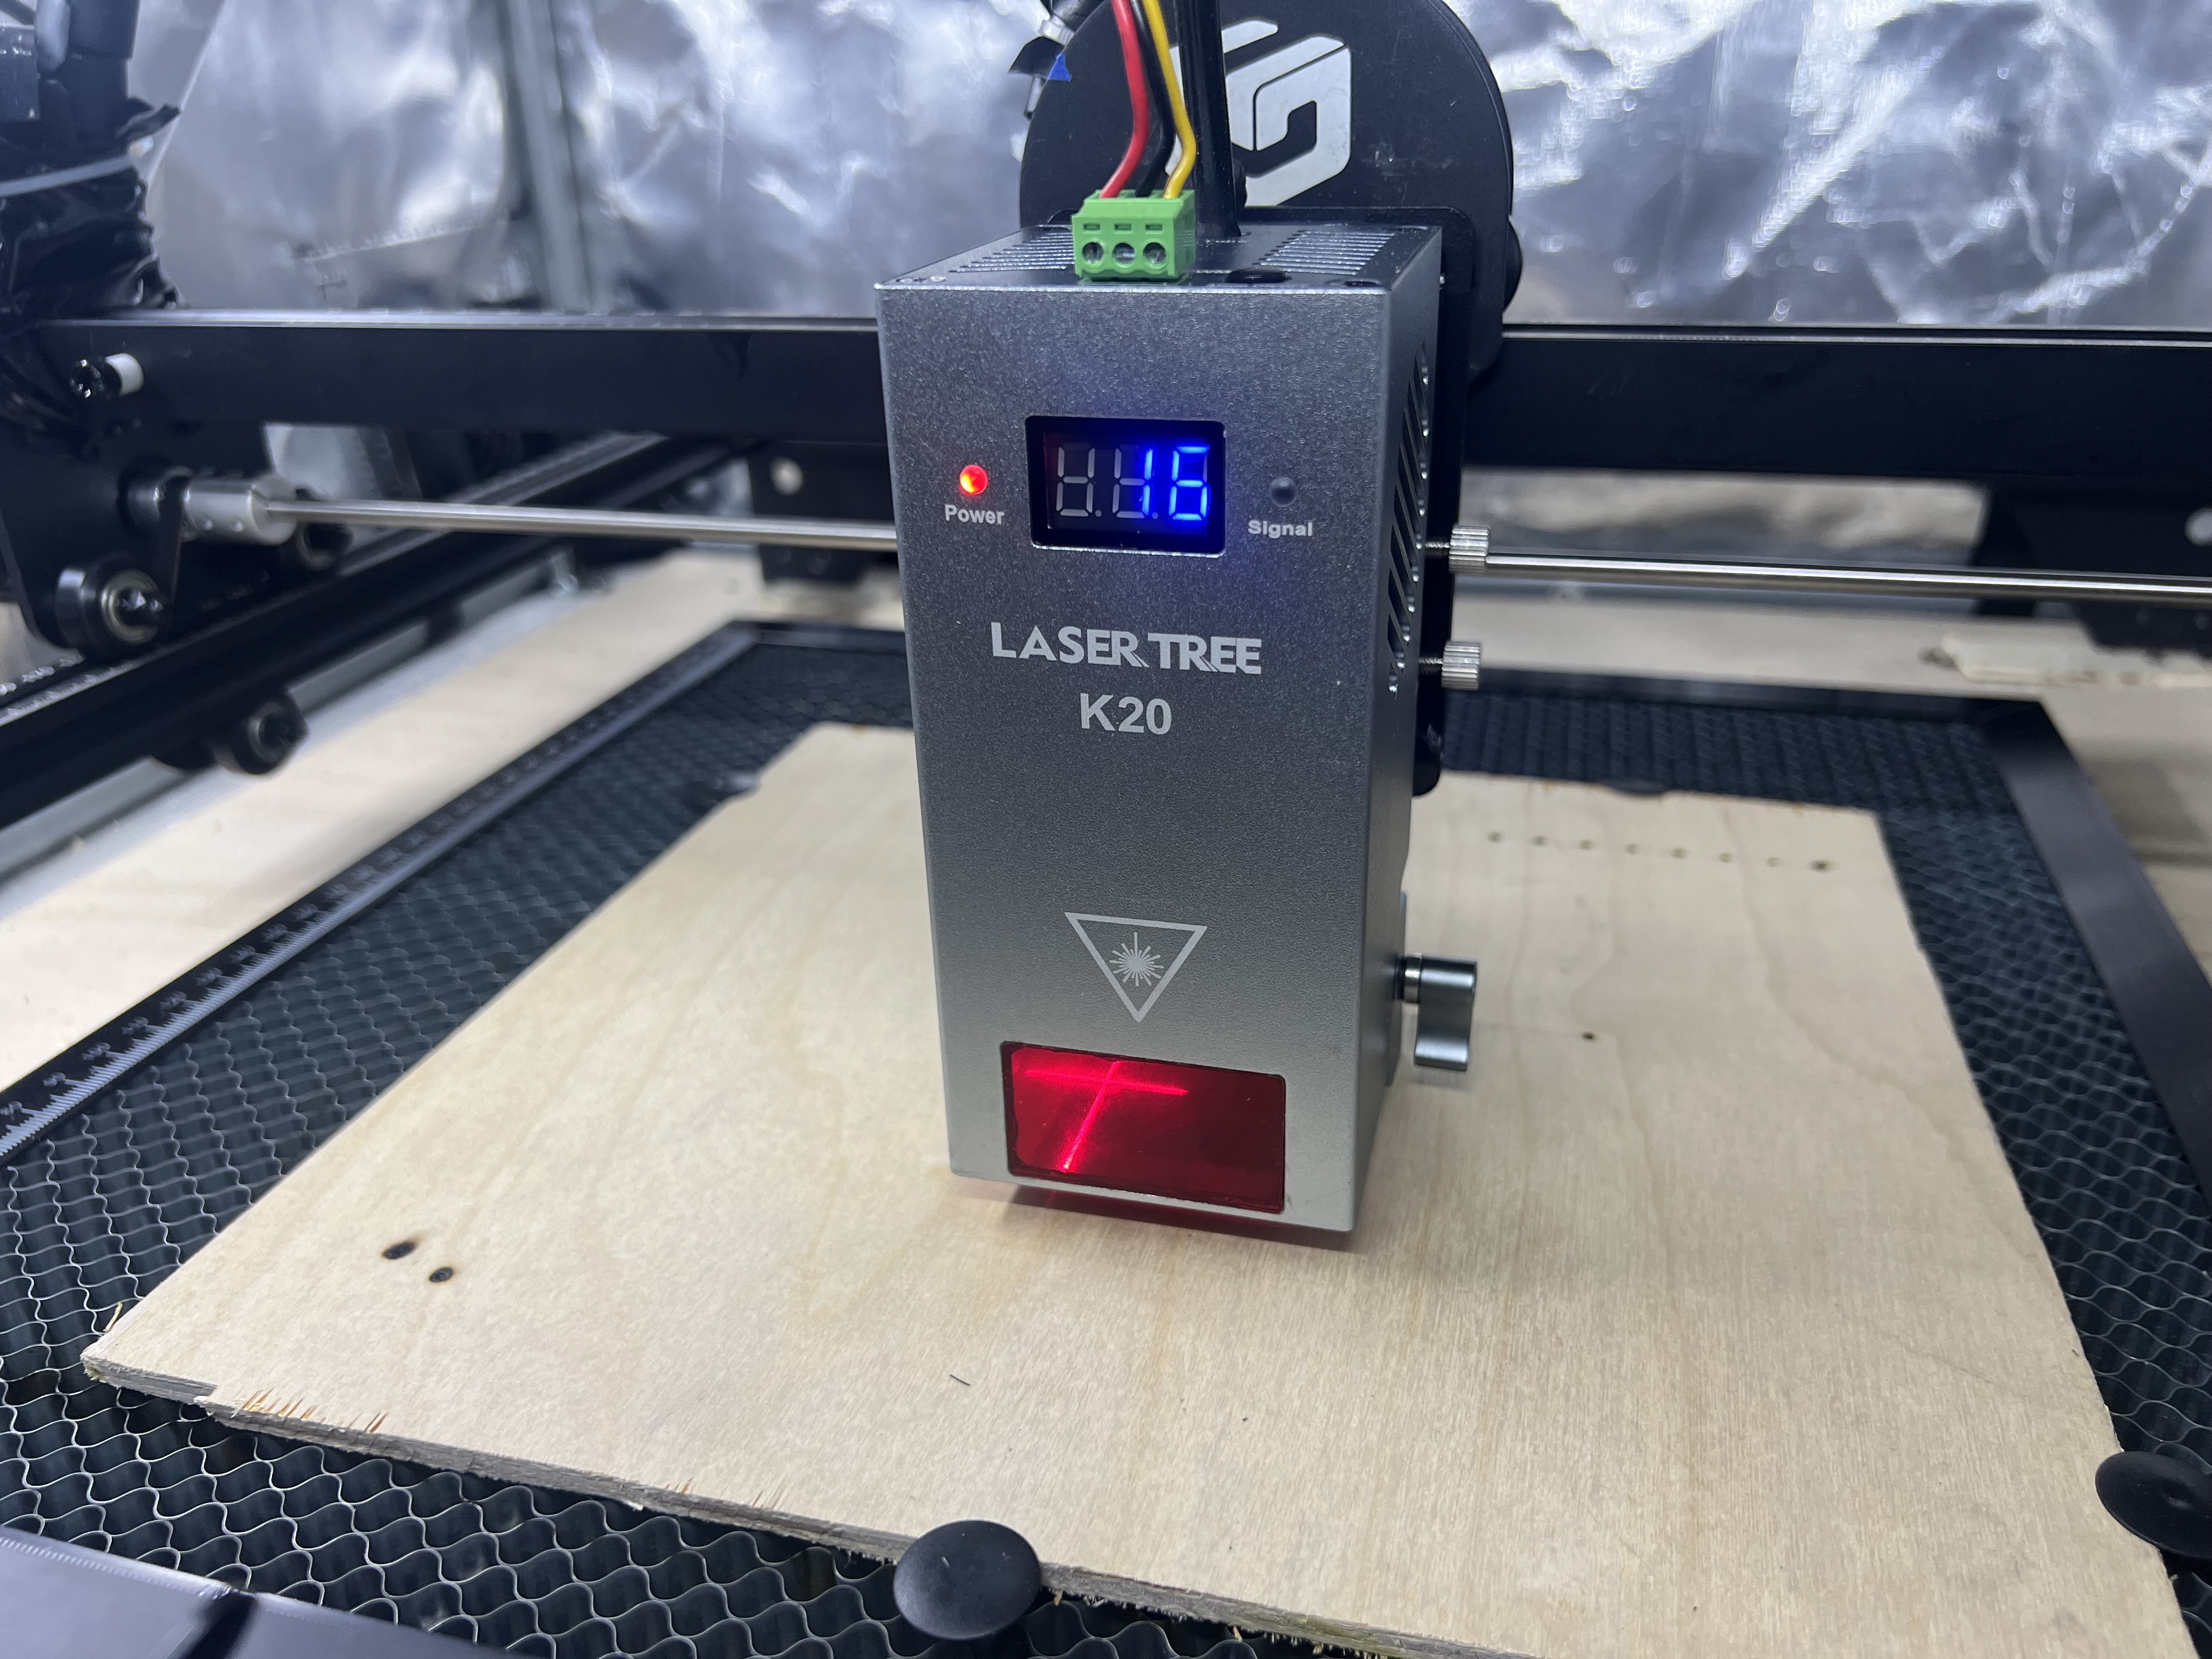
I upgraded my Longer Ray5 - 10 watt module to the Laser Tree K20 - 20 watt module. The upgrade wasn’t too bad, you just have to manage cables and figure out places to mount stuff so it works and you should be good to go.
Though this guide is focused just on the mounting of the Laser Tree K20 to the Longer Ray5 gantry, it should be noted that you should turn your Laser Tree module on first, THEN turn on the Ray5 screen, otherwise the Laser Tree module might not connect properly to the Ray5 screen. You’ll know when you have a connection because there will be a red AND a green light on the front of the Laser Tree module - the green light indicating a connection to the Ray5.
Step 1 - Attach Longer Slide Plate to Laser Tree slide adapter
Using 4 of the machine screws that were holding the original Longer Laser module to the Longer slide plate, after removing the OEM slide plate from the back of the OEM Longer laser module, attach the Laser Tree adapter as shown below.

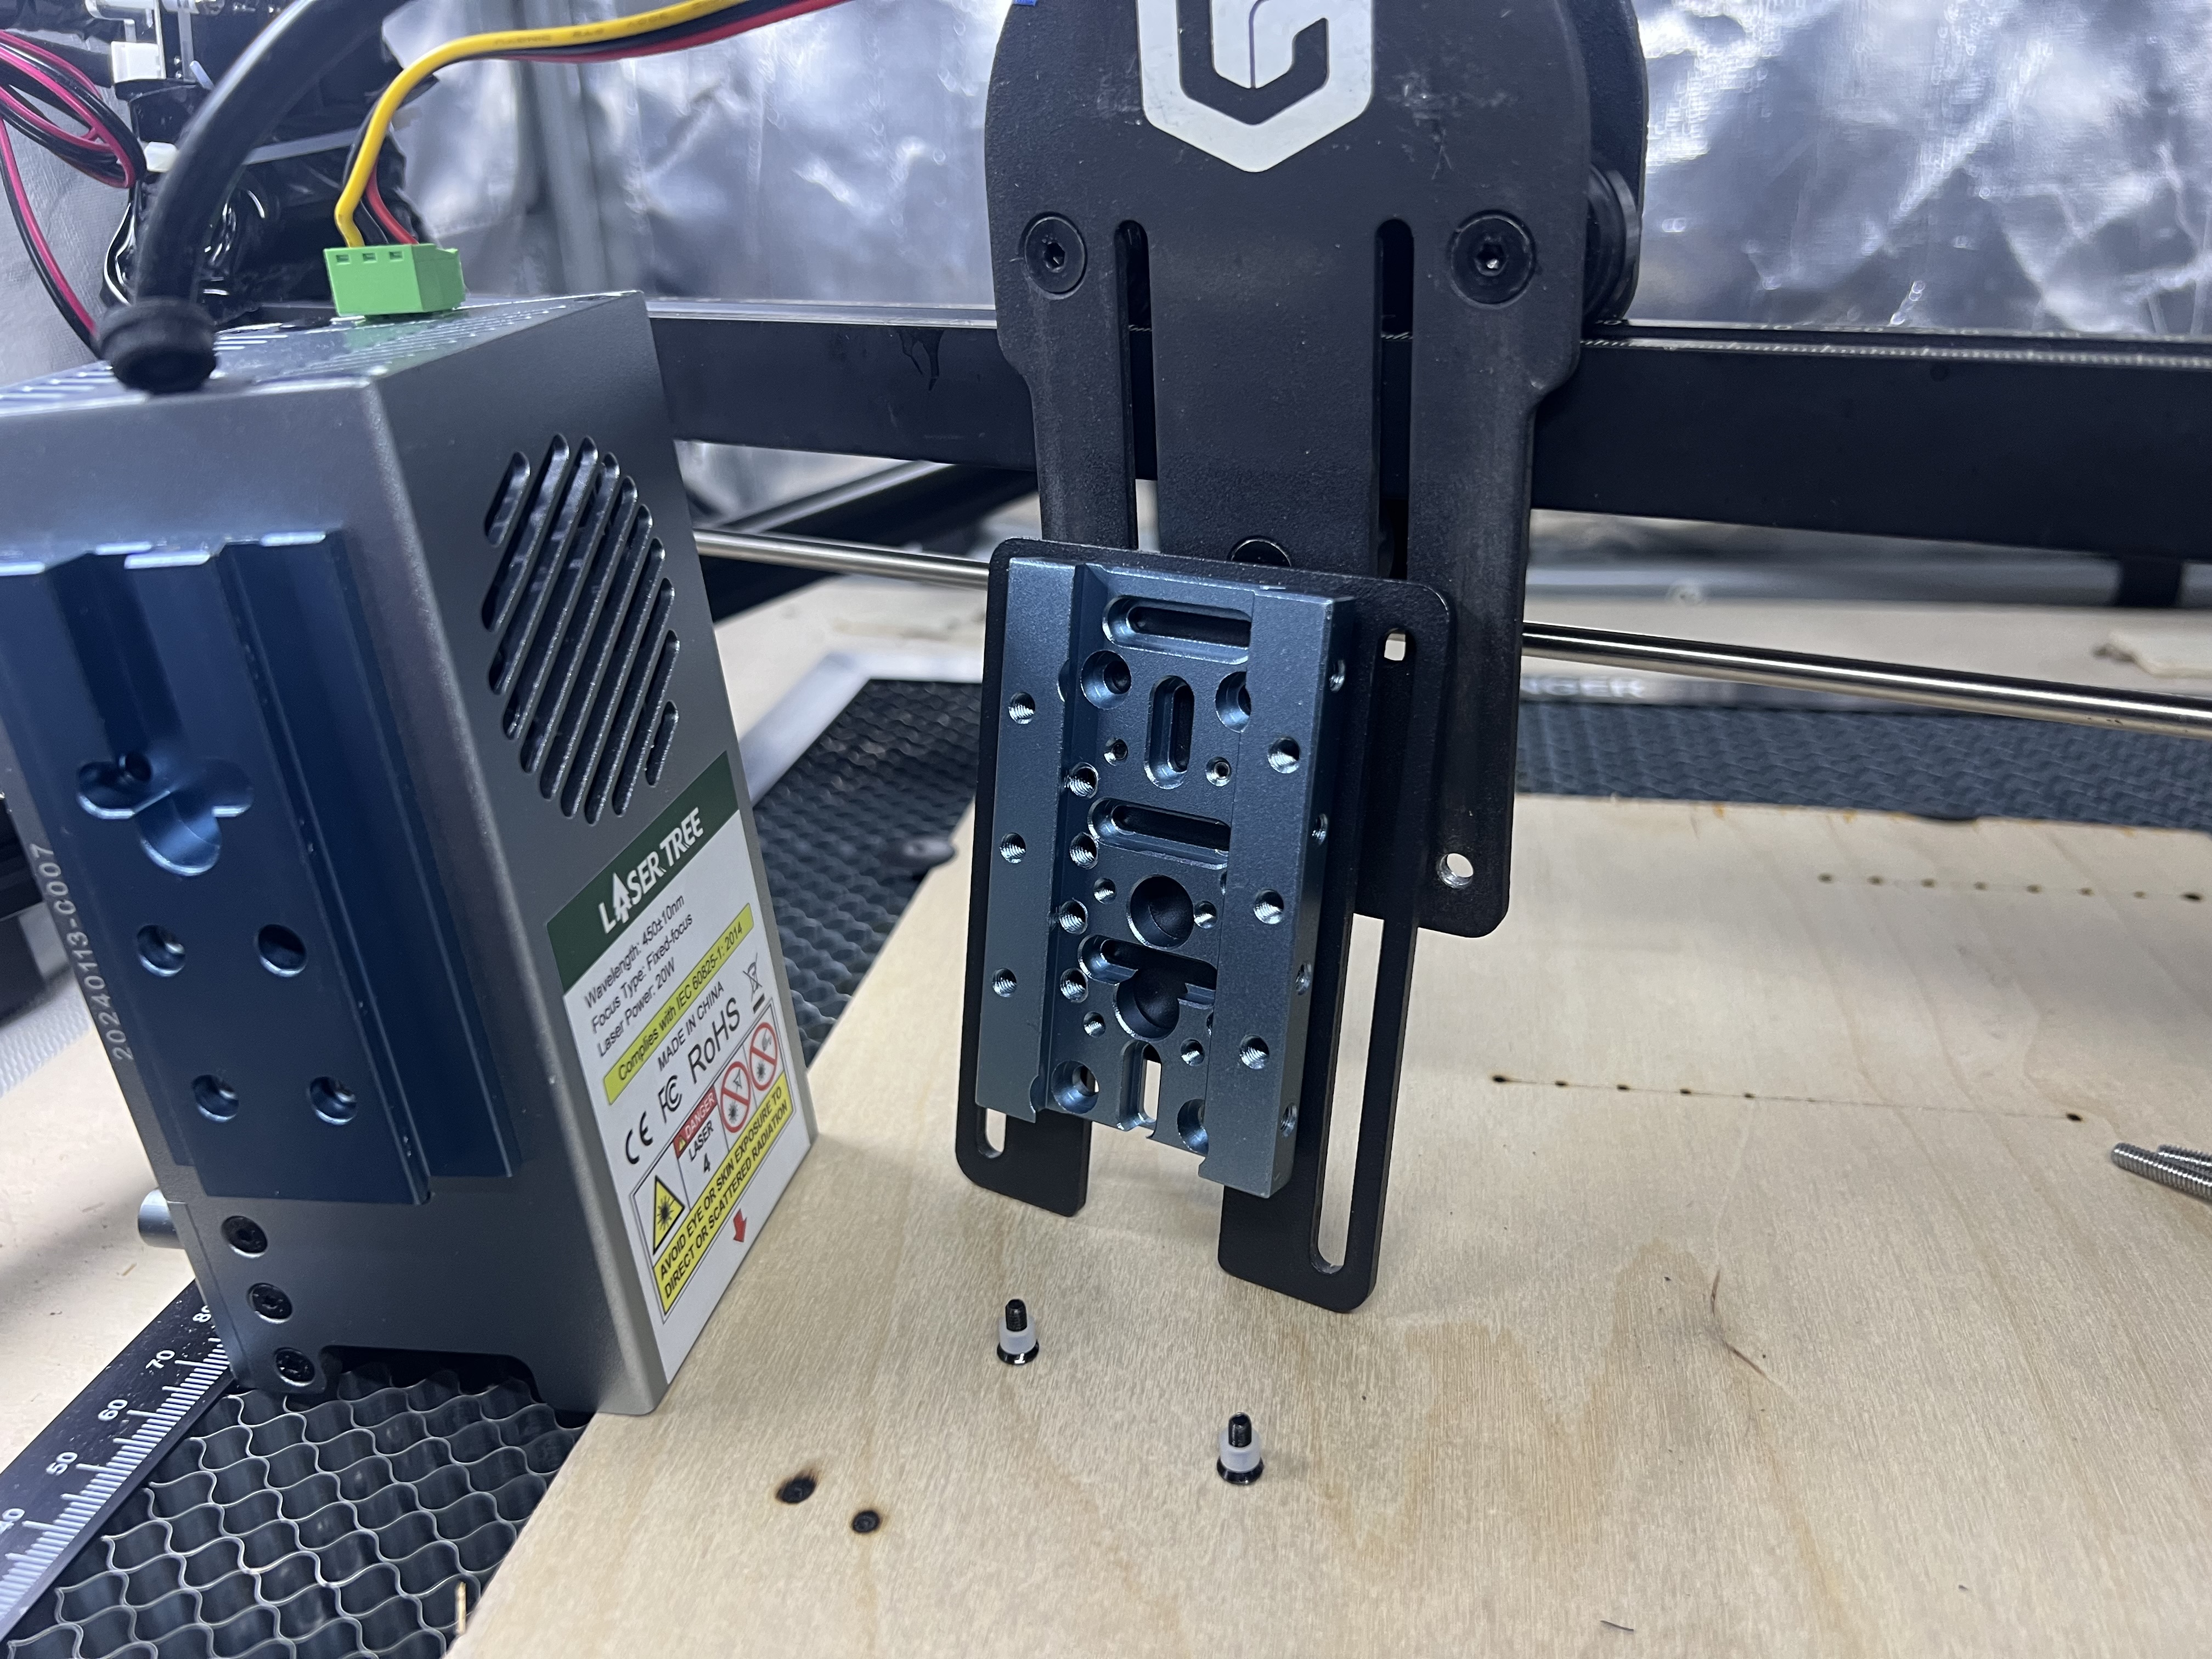
Step 2 - Attach OEM Slide Plate with OEM Guide Screws
Insert the OEM Longer machine screws with vinyl jacket - through the back of the Longer gantry plate to initially attach the OEM Longer slide plate to the Longer gantry plate (just like you did when you first attached the OEM Longer Laser Head originally).
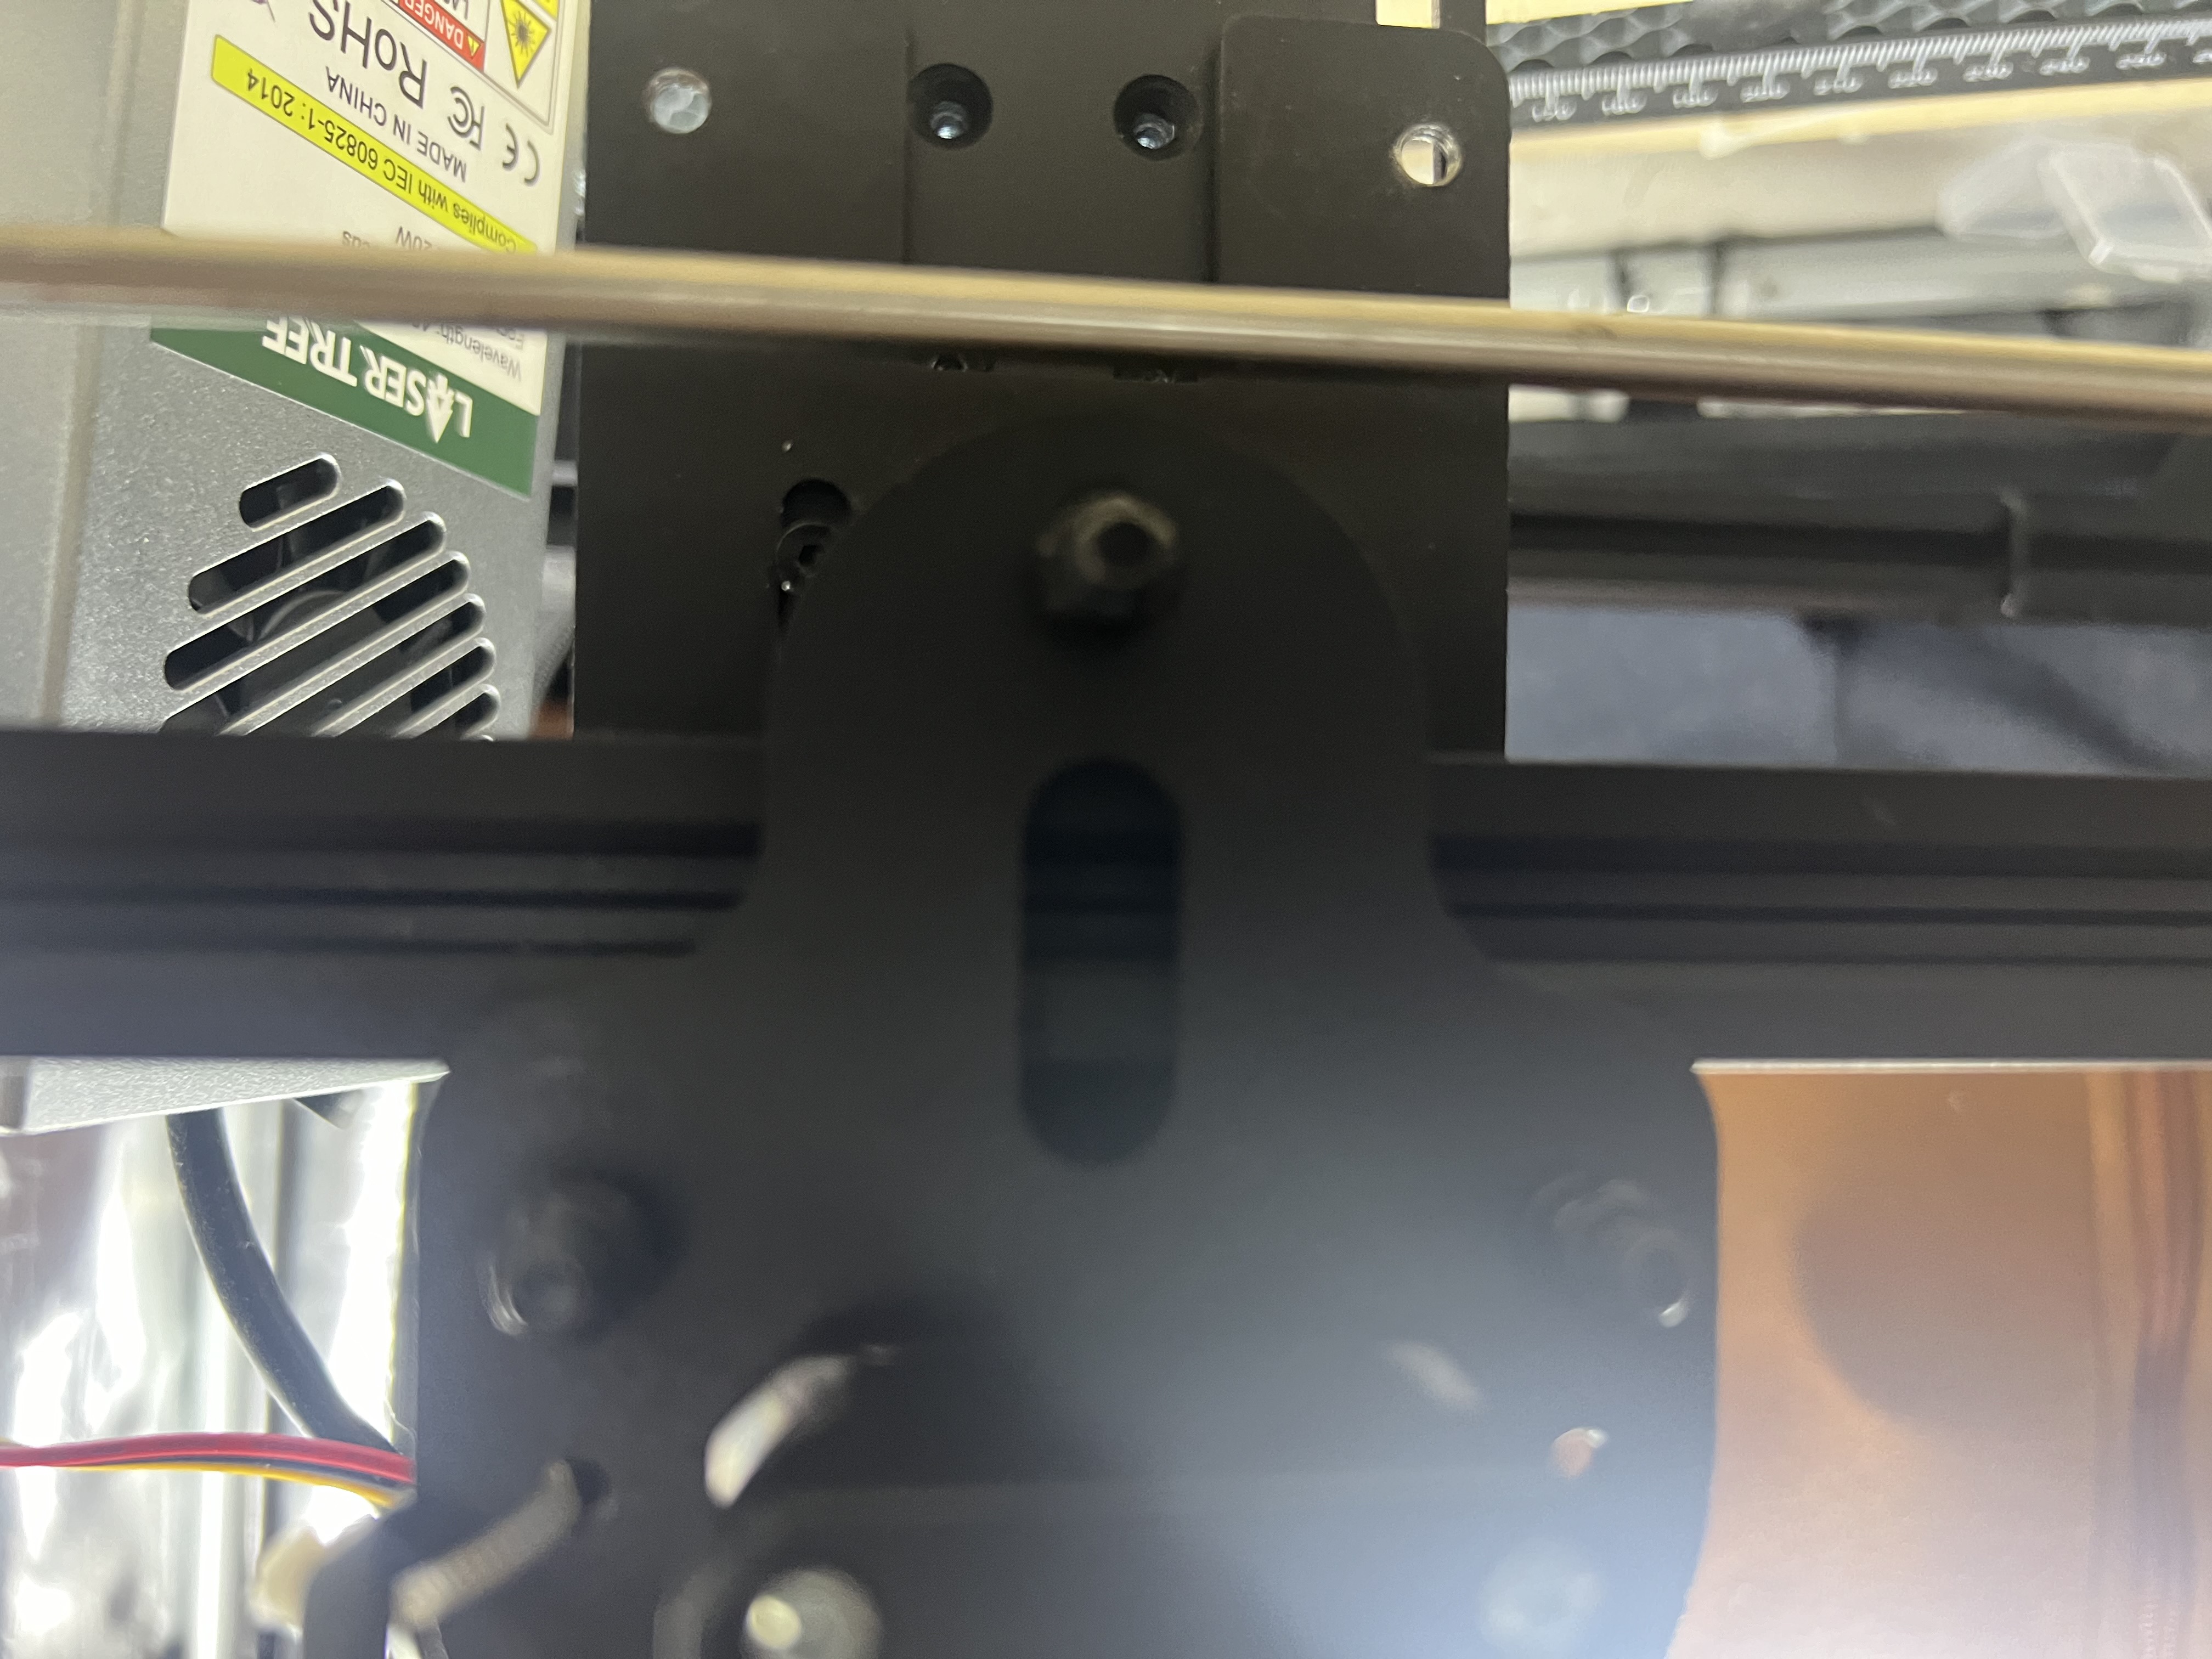
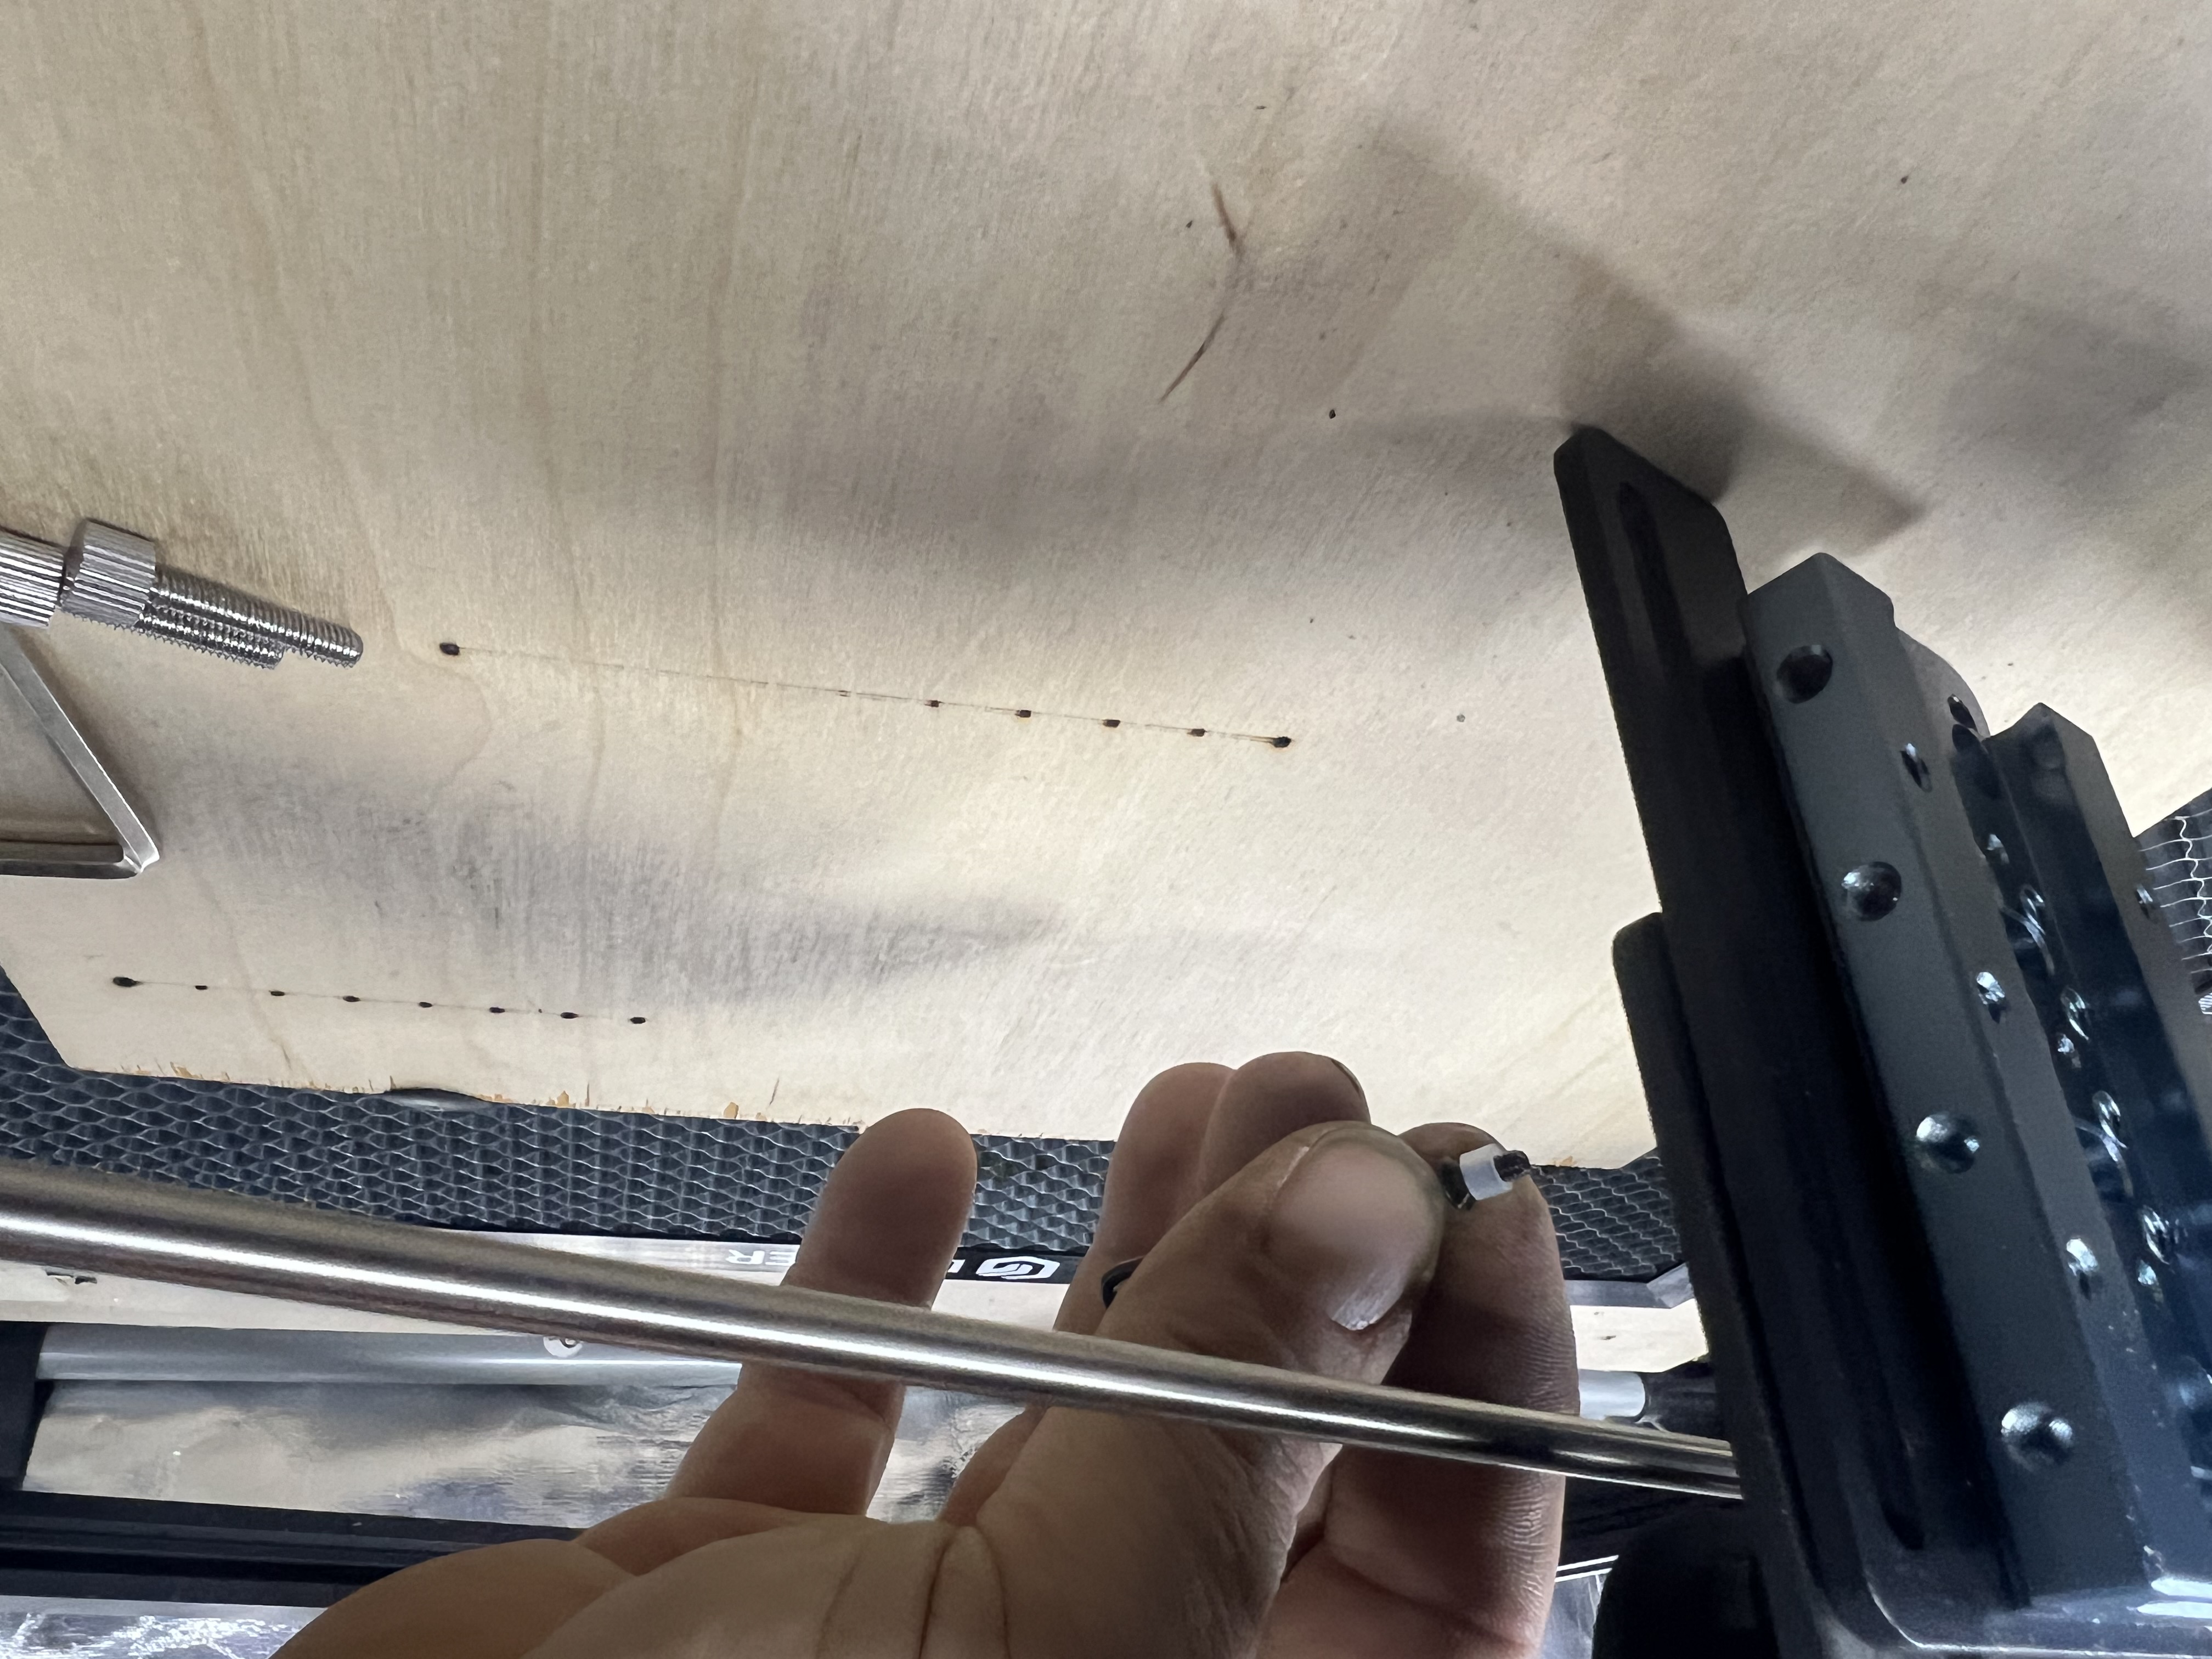
Step 3 - Insert the OEM Thumb Screws
To insert the thumb screws, the OEM plate needs to be slid all the way to the top so there is space to insert the thumb screws. If these were smaller bolts, perhaps the OEM slide wouldn’t need to be all the way at the top, however, in order to use all of the OEM parts that come with the Longer Ray5 engraver, I’m showing how to do it with the thumb screws.
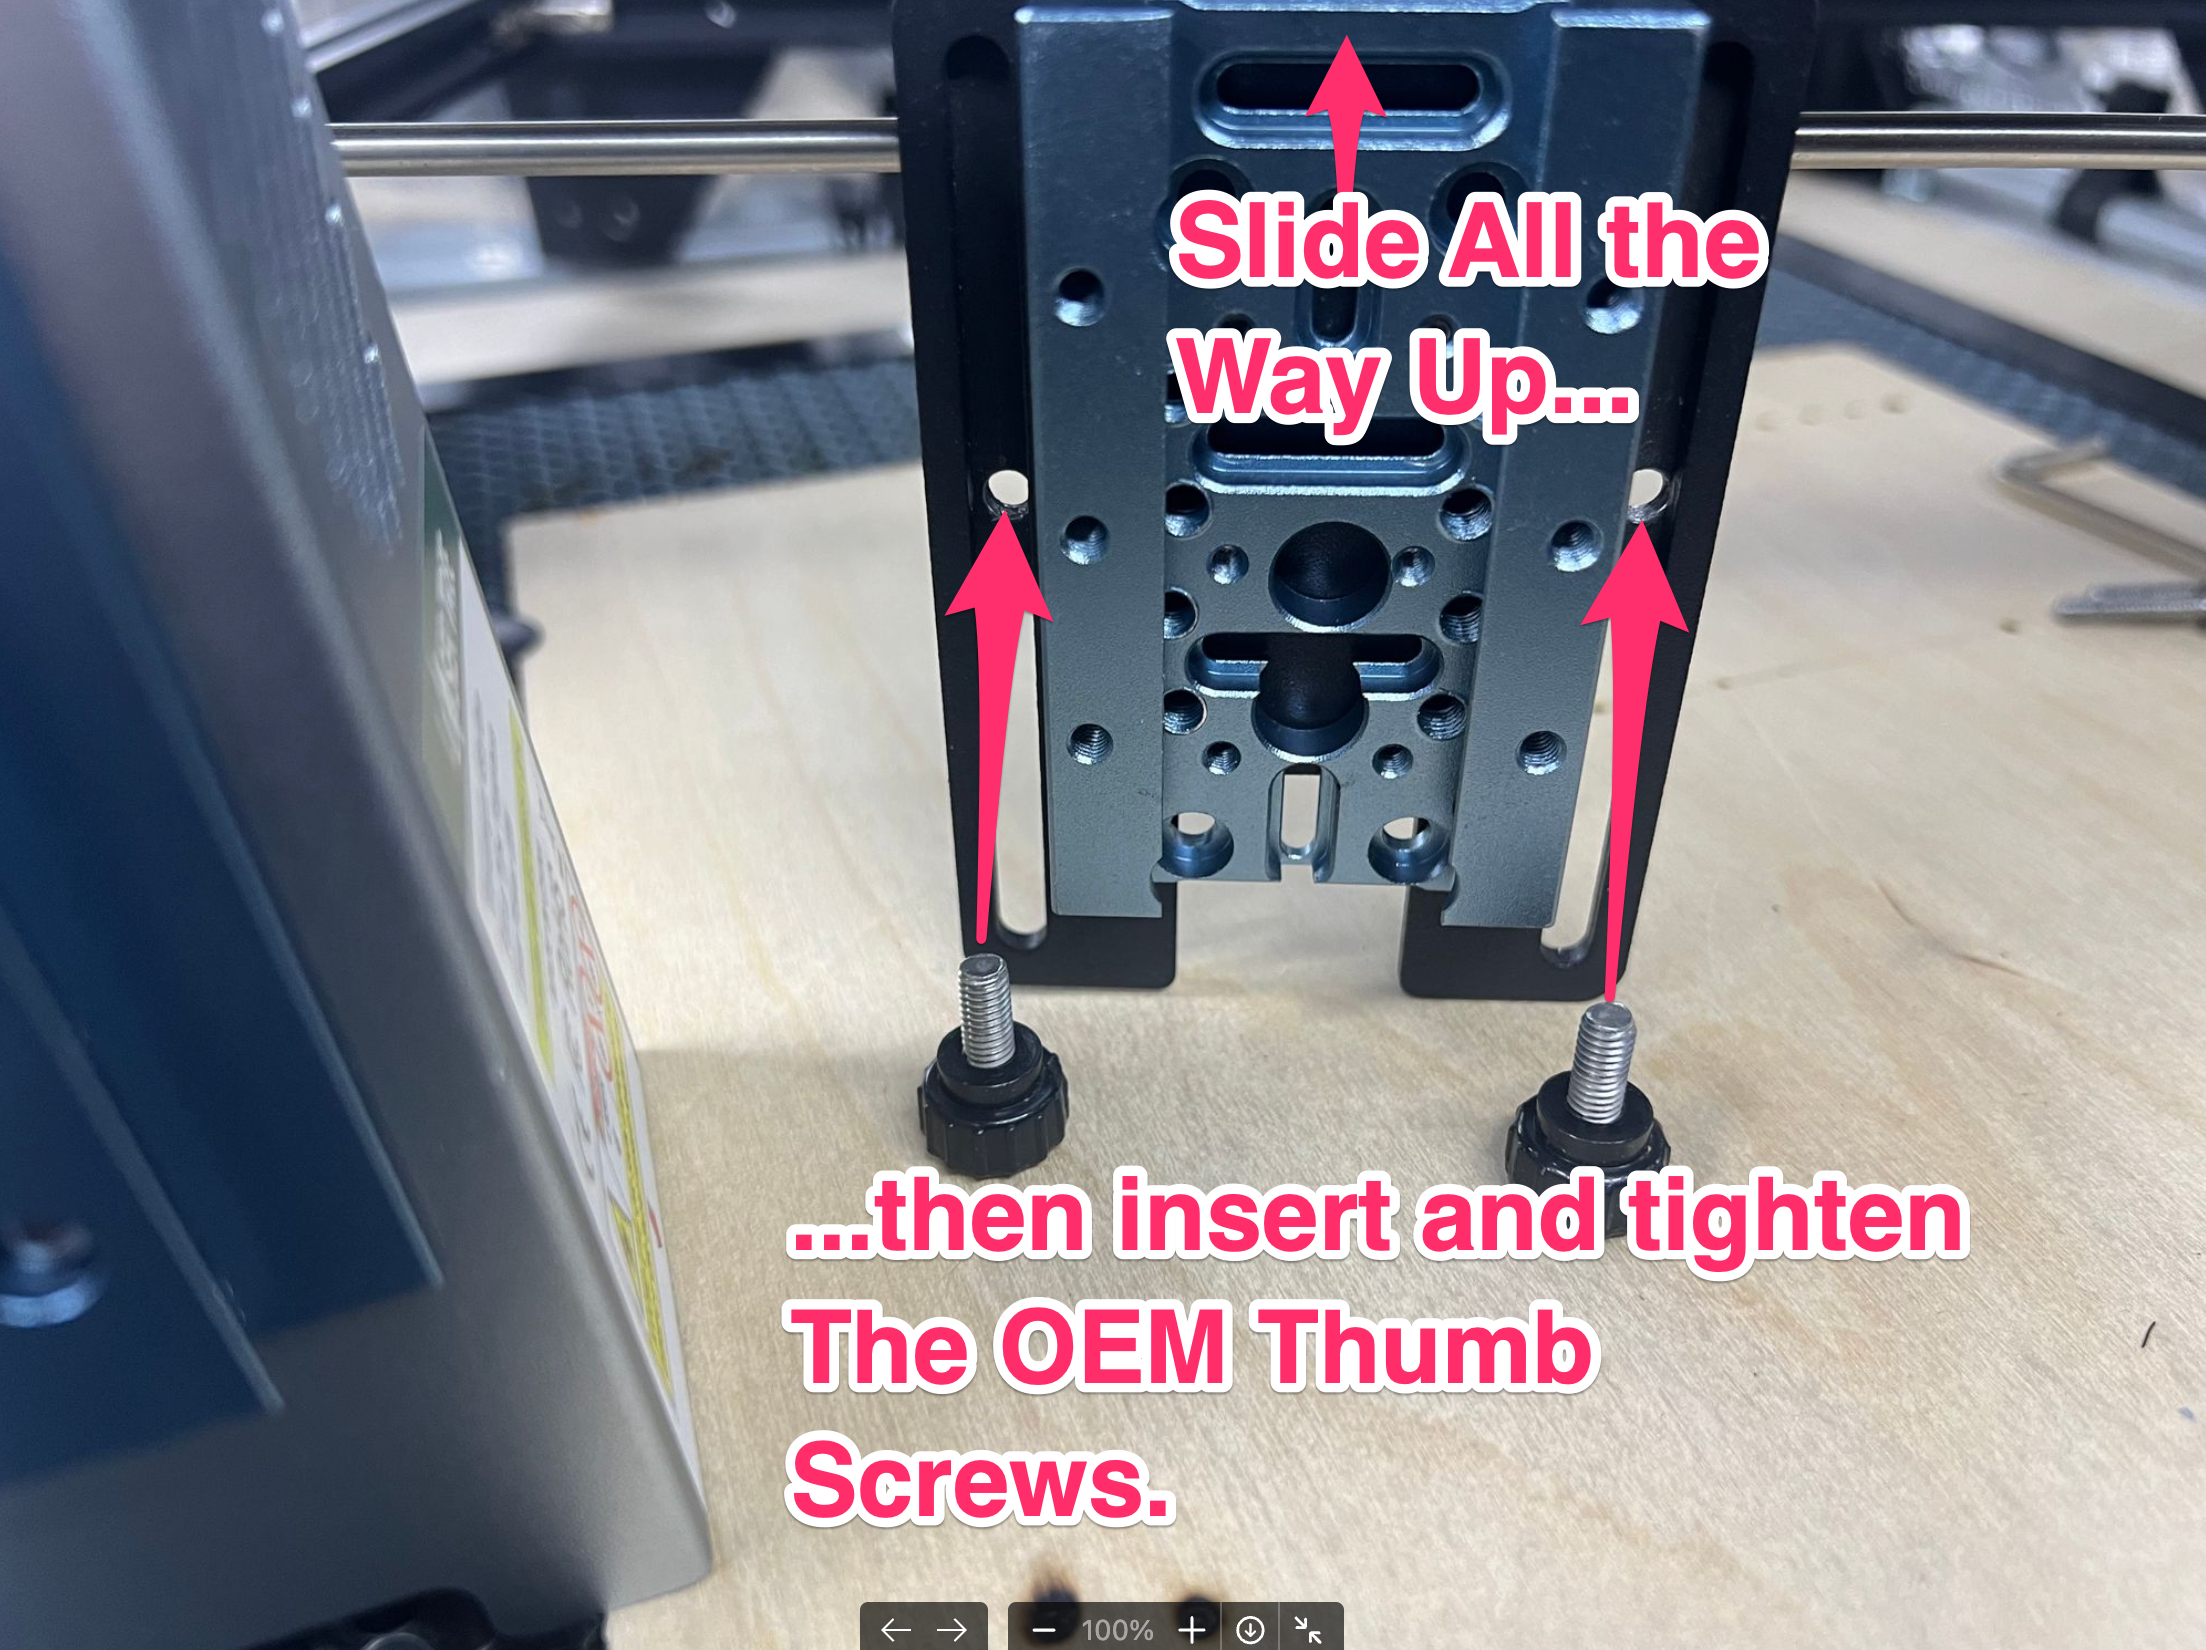
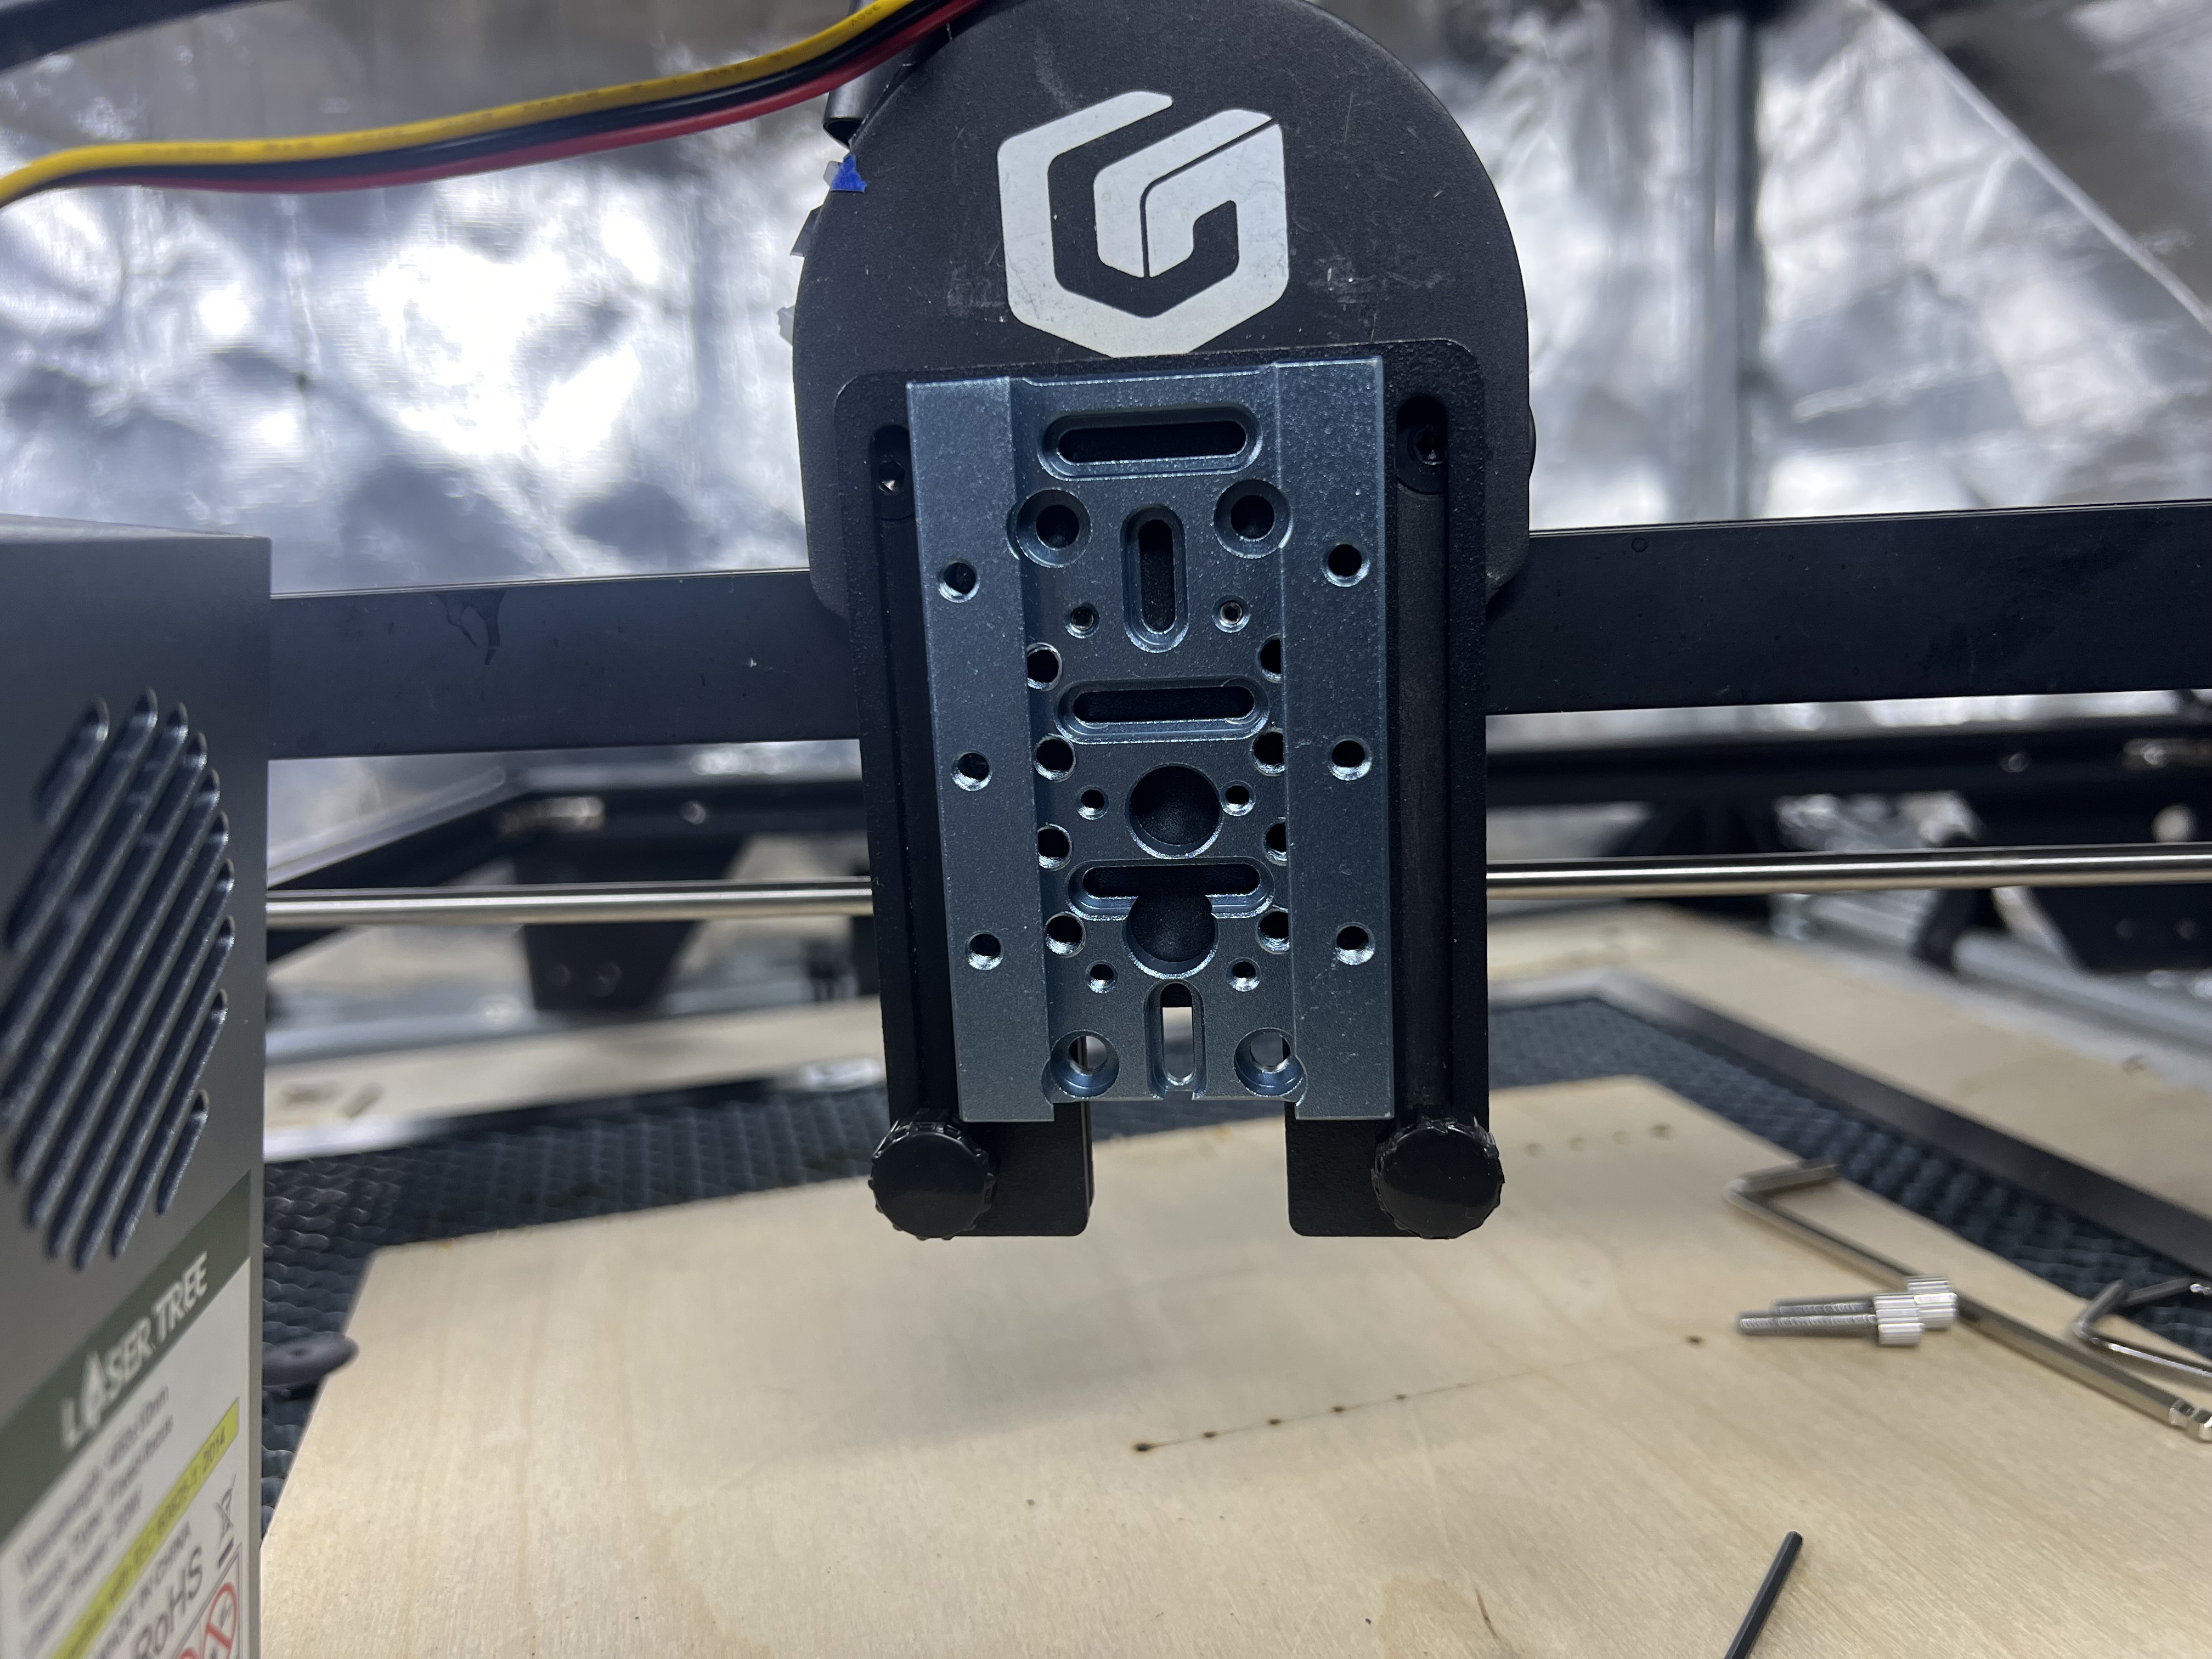
Photo below shows after the OEM Longer Ray5 thumb screws have been installed and the Laser Tree slide adapter is now attached fully to the Longer Gantry…
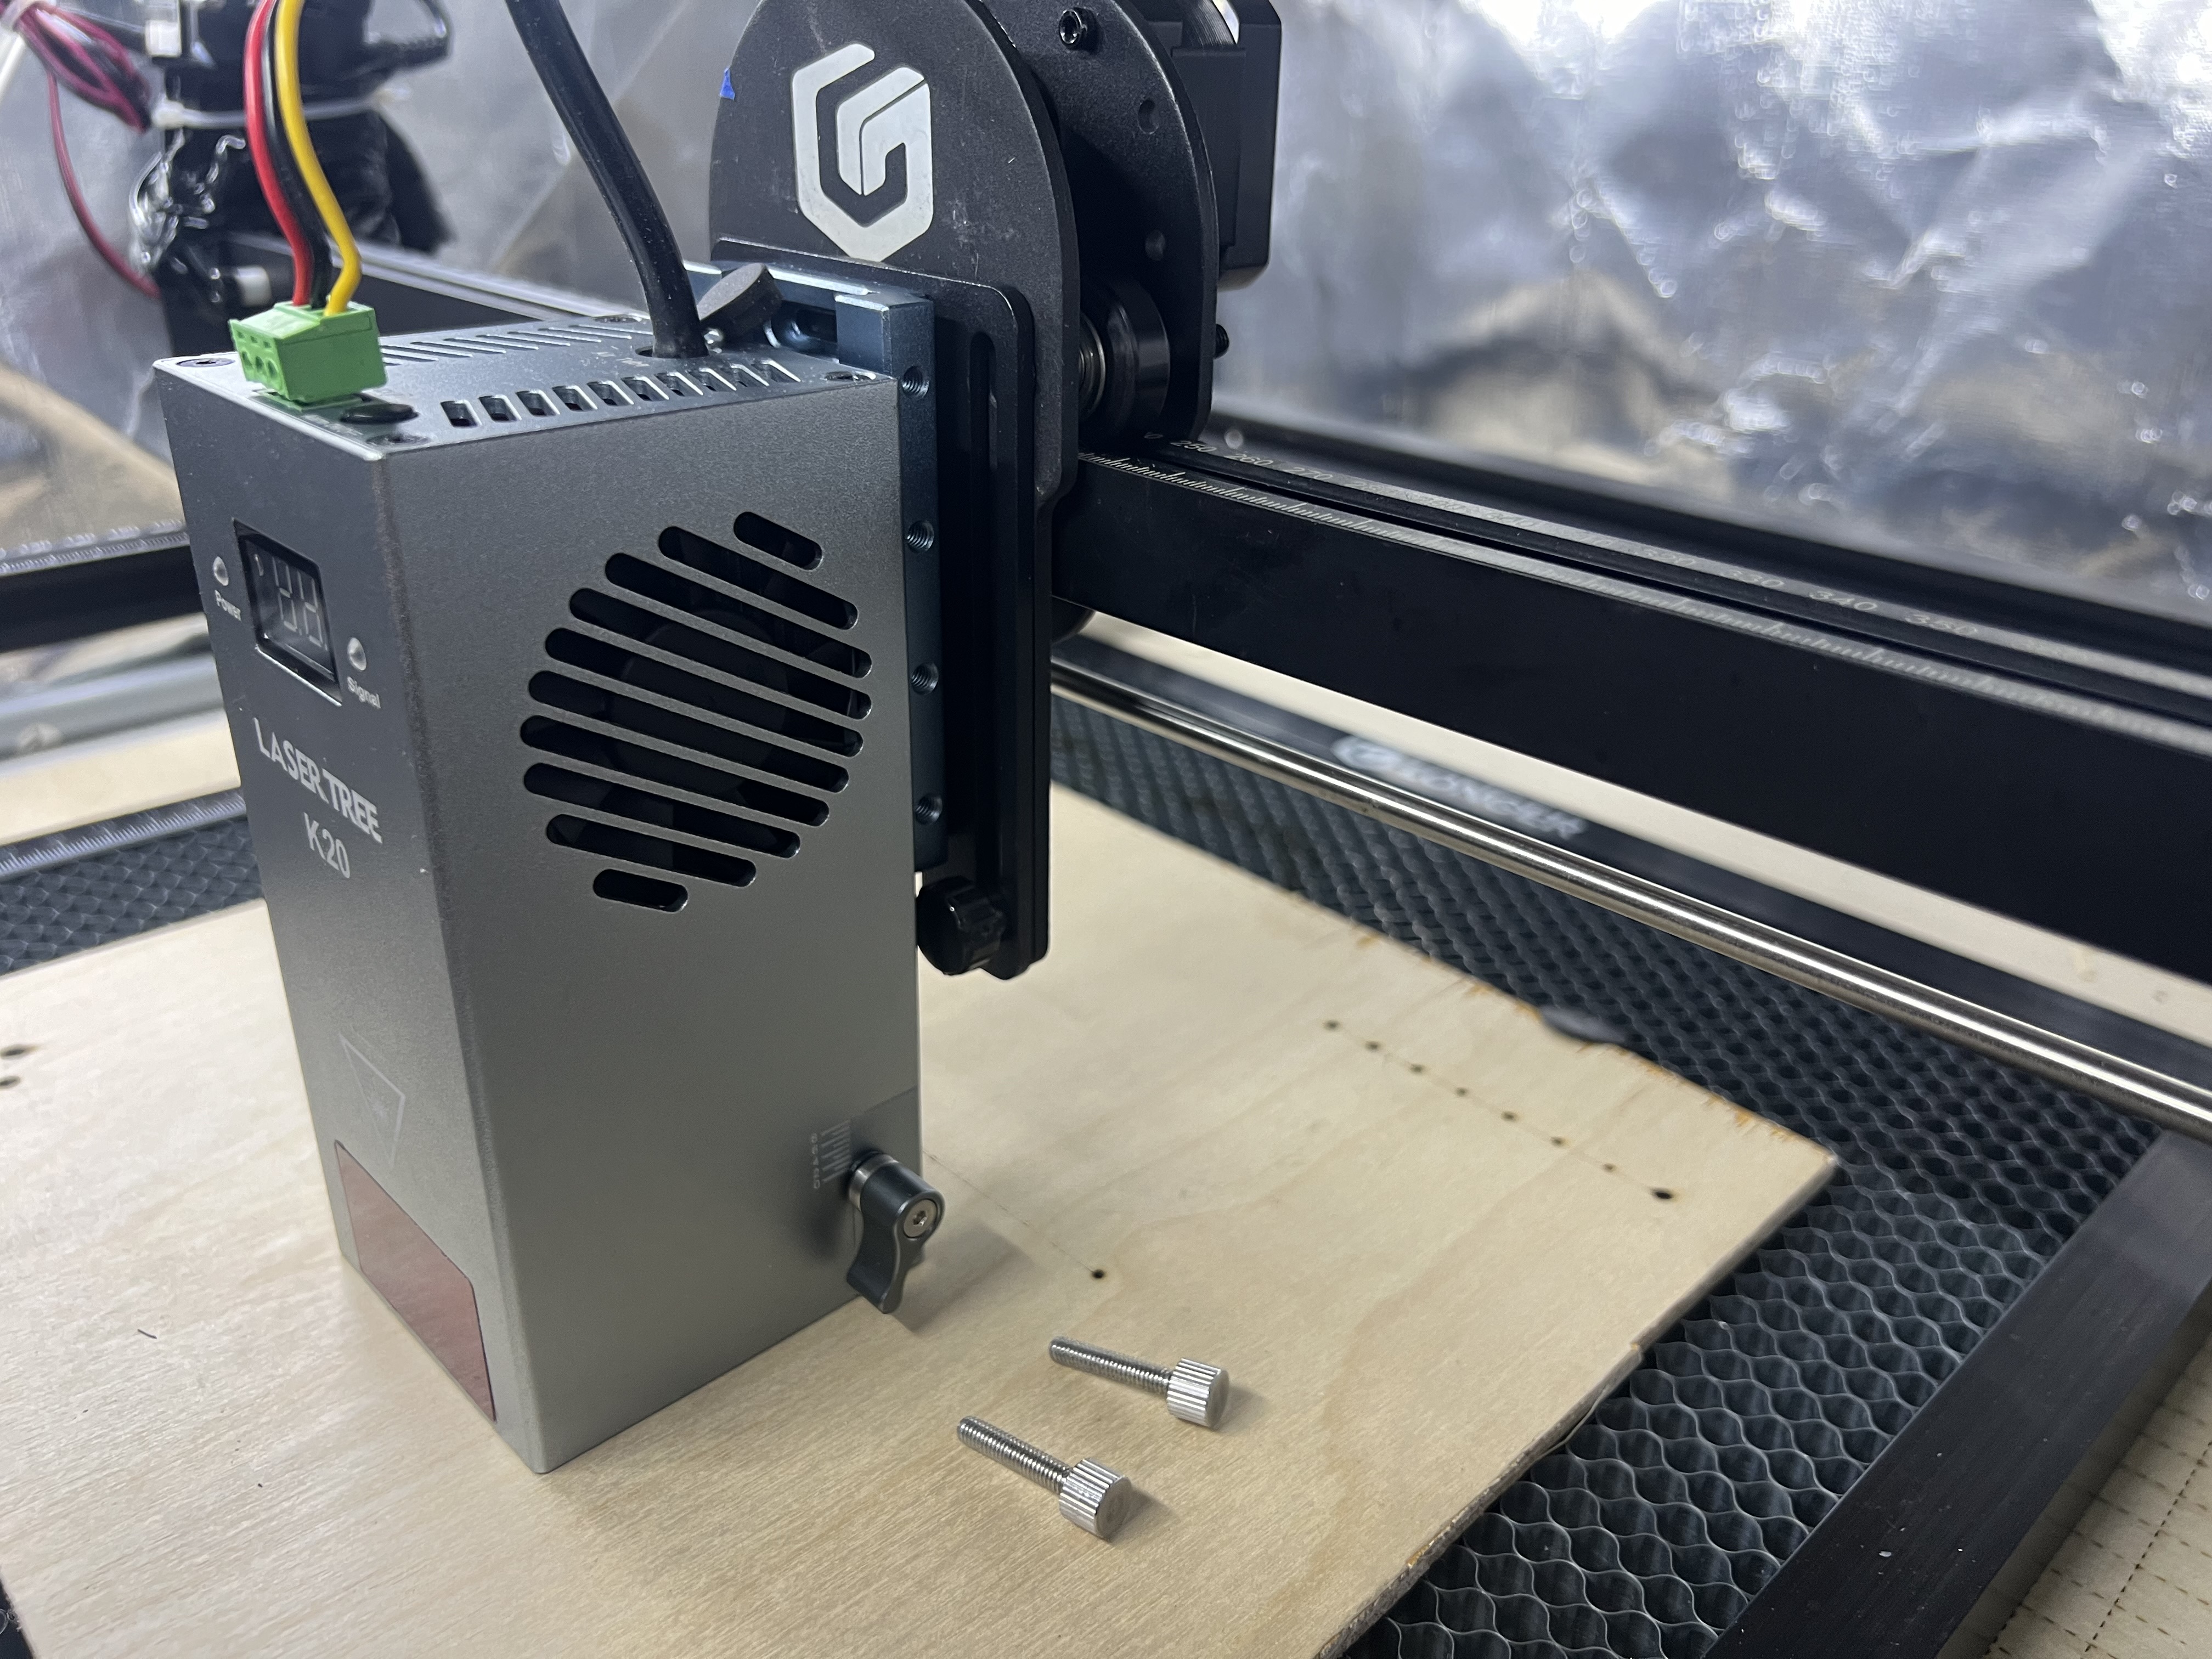
Step 4 - Attach the Laser Tree K20 Module to Longer Gantry
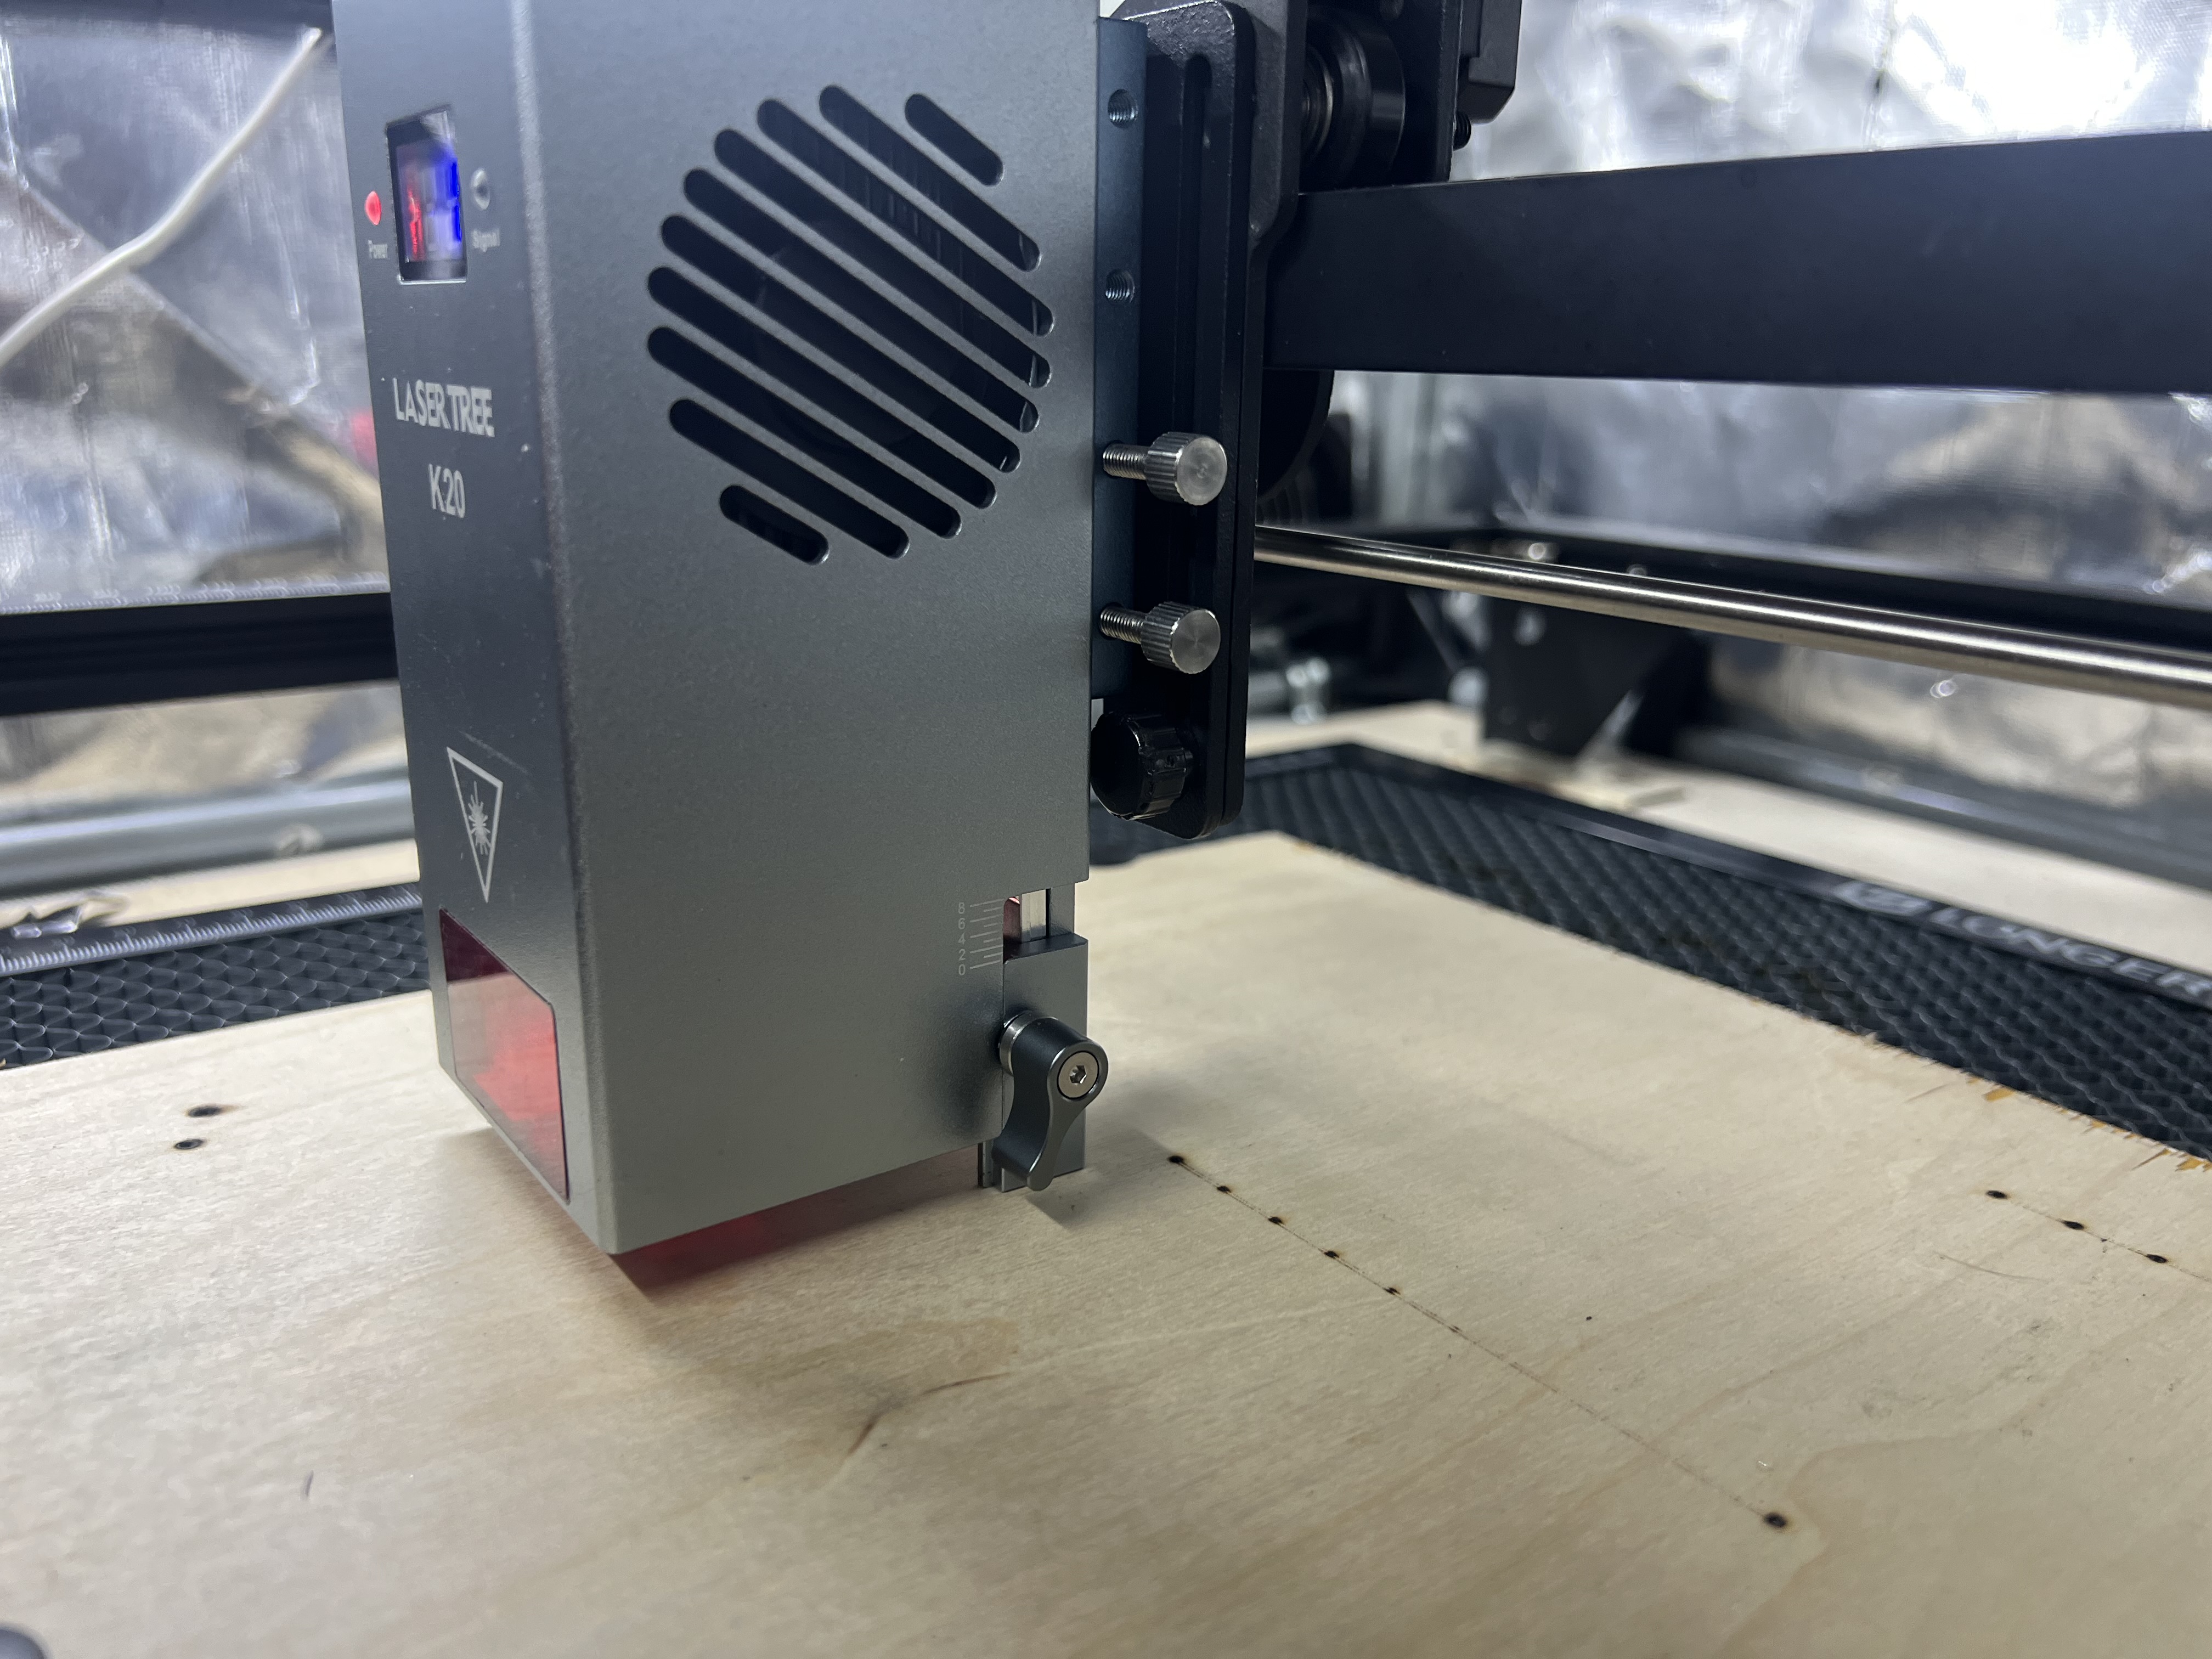
If you’ve already installed the laser tree module (as shown below) to the other half of the Laser Tree slide adapter, you can now slide it into place on the gantry as shown below
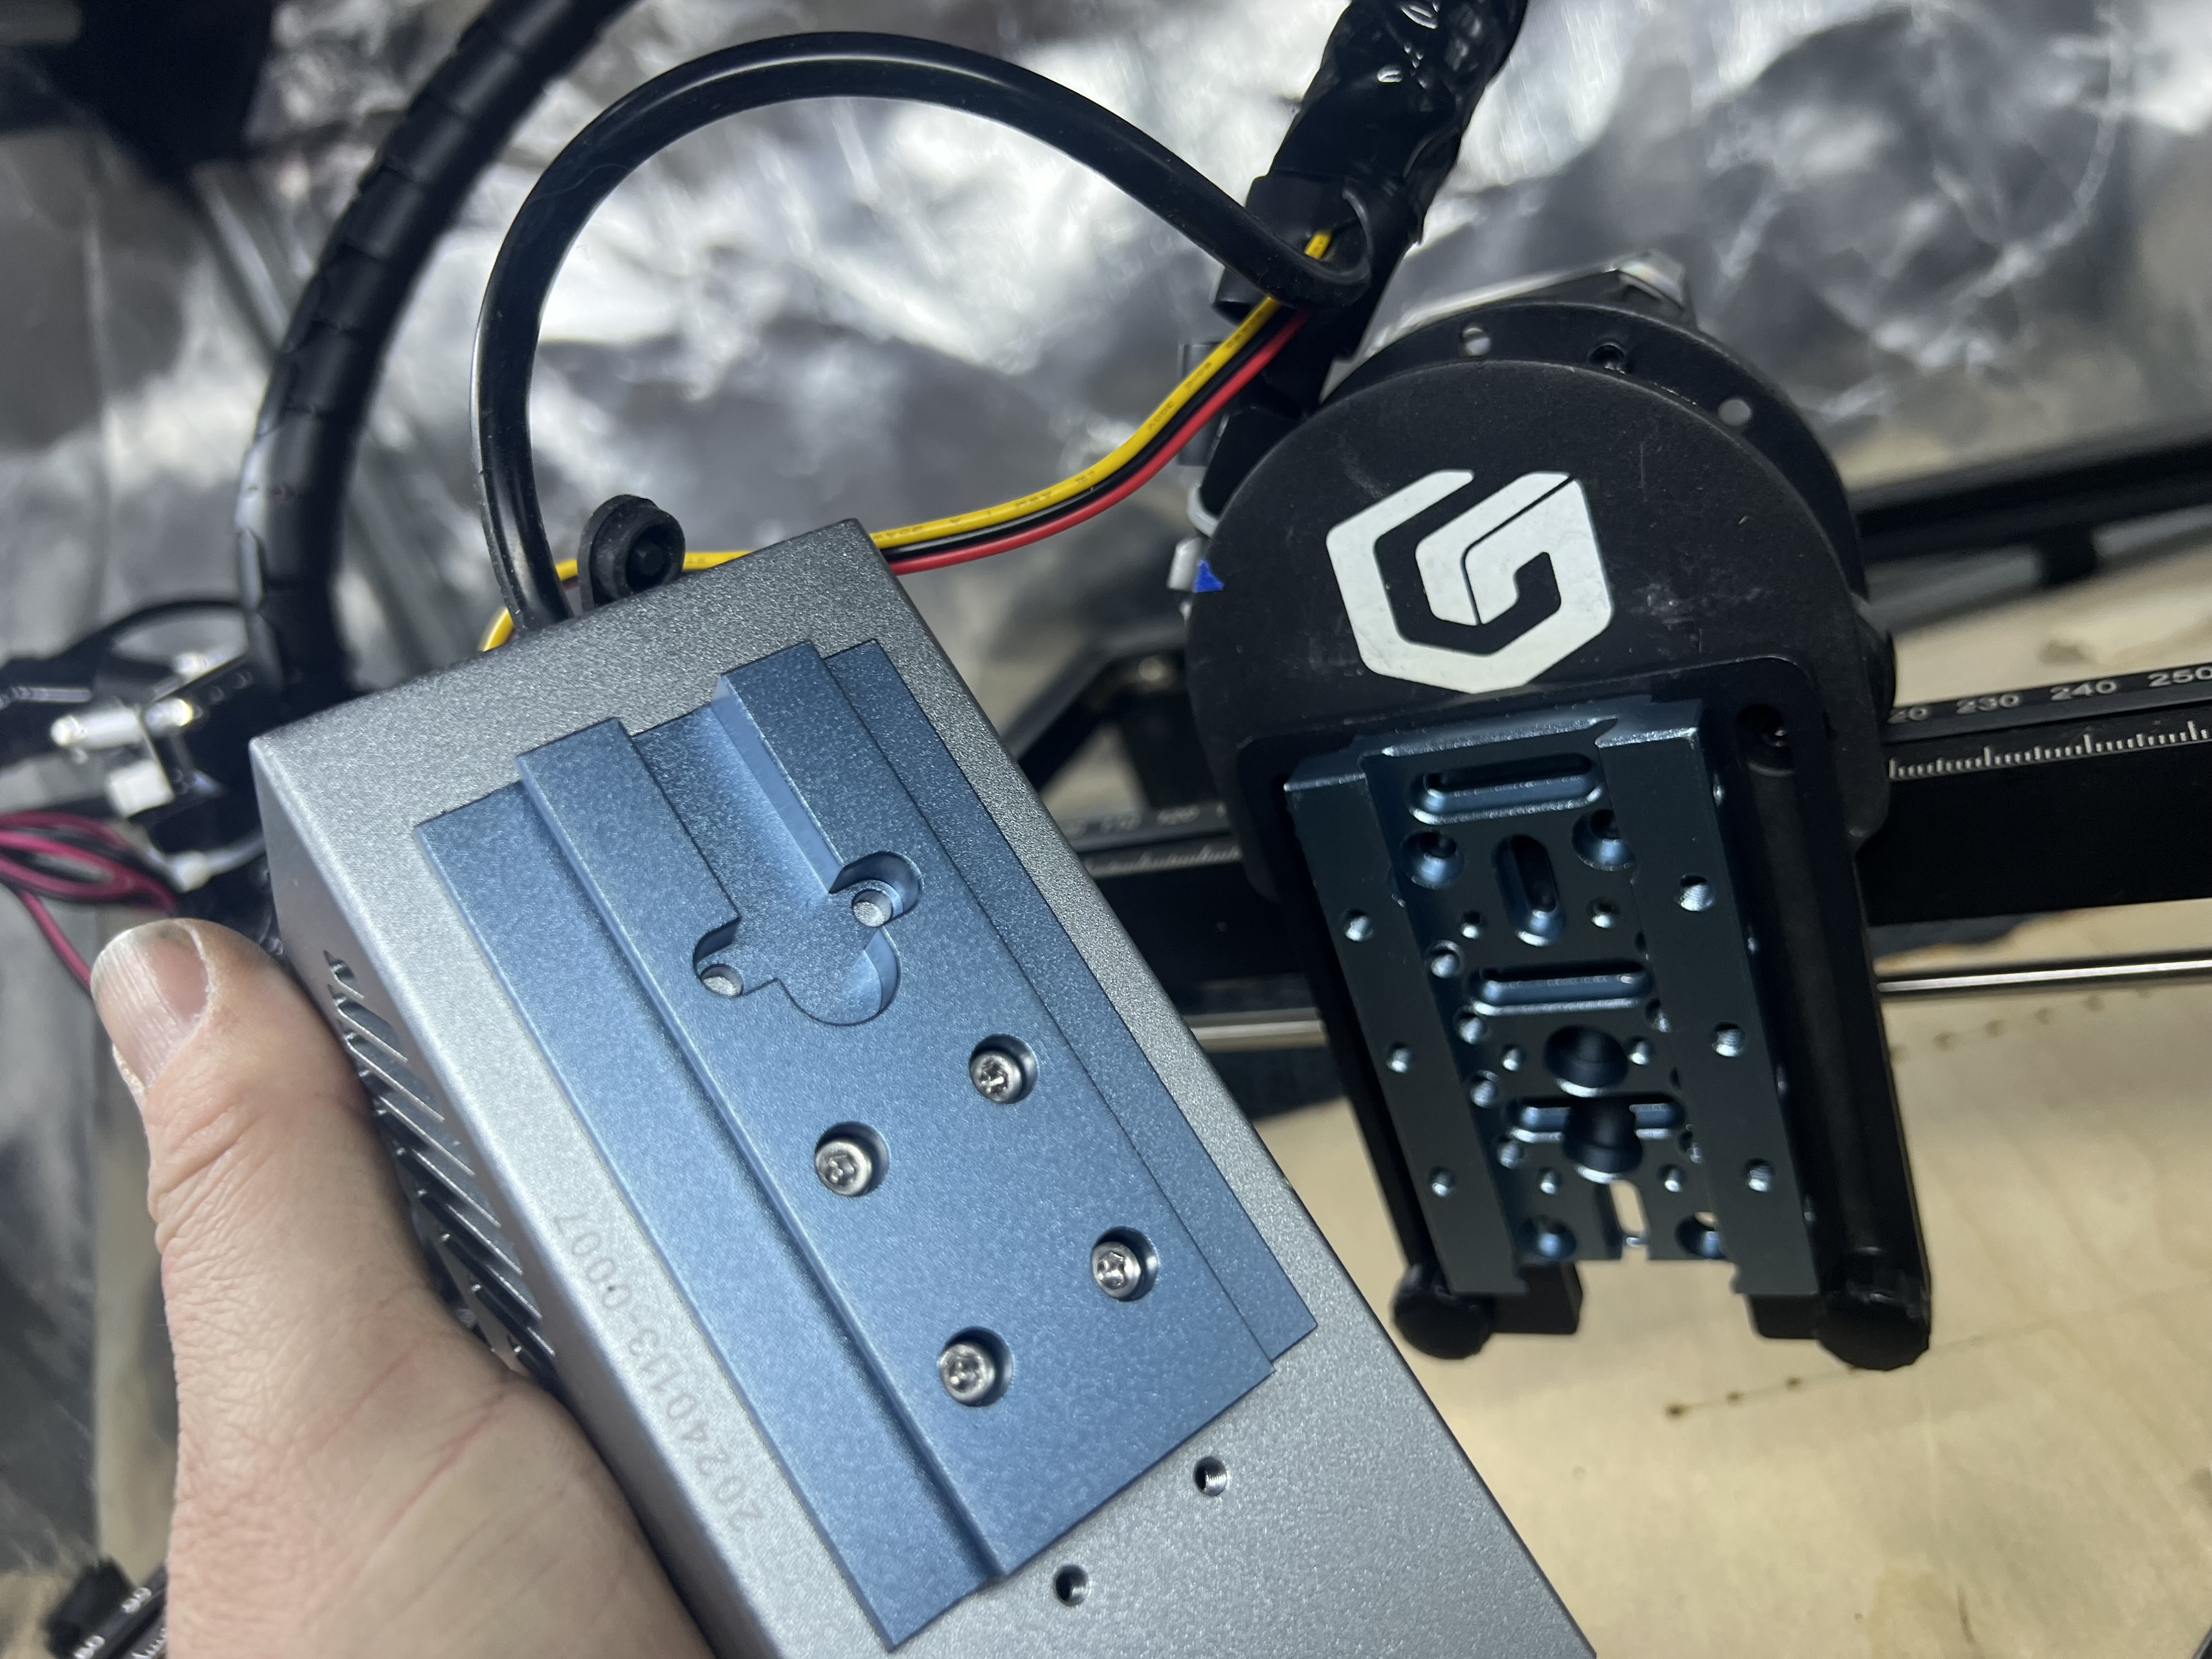
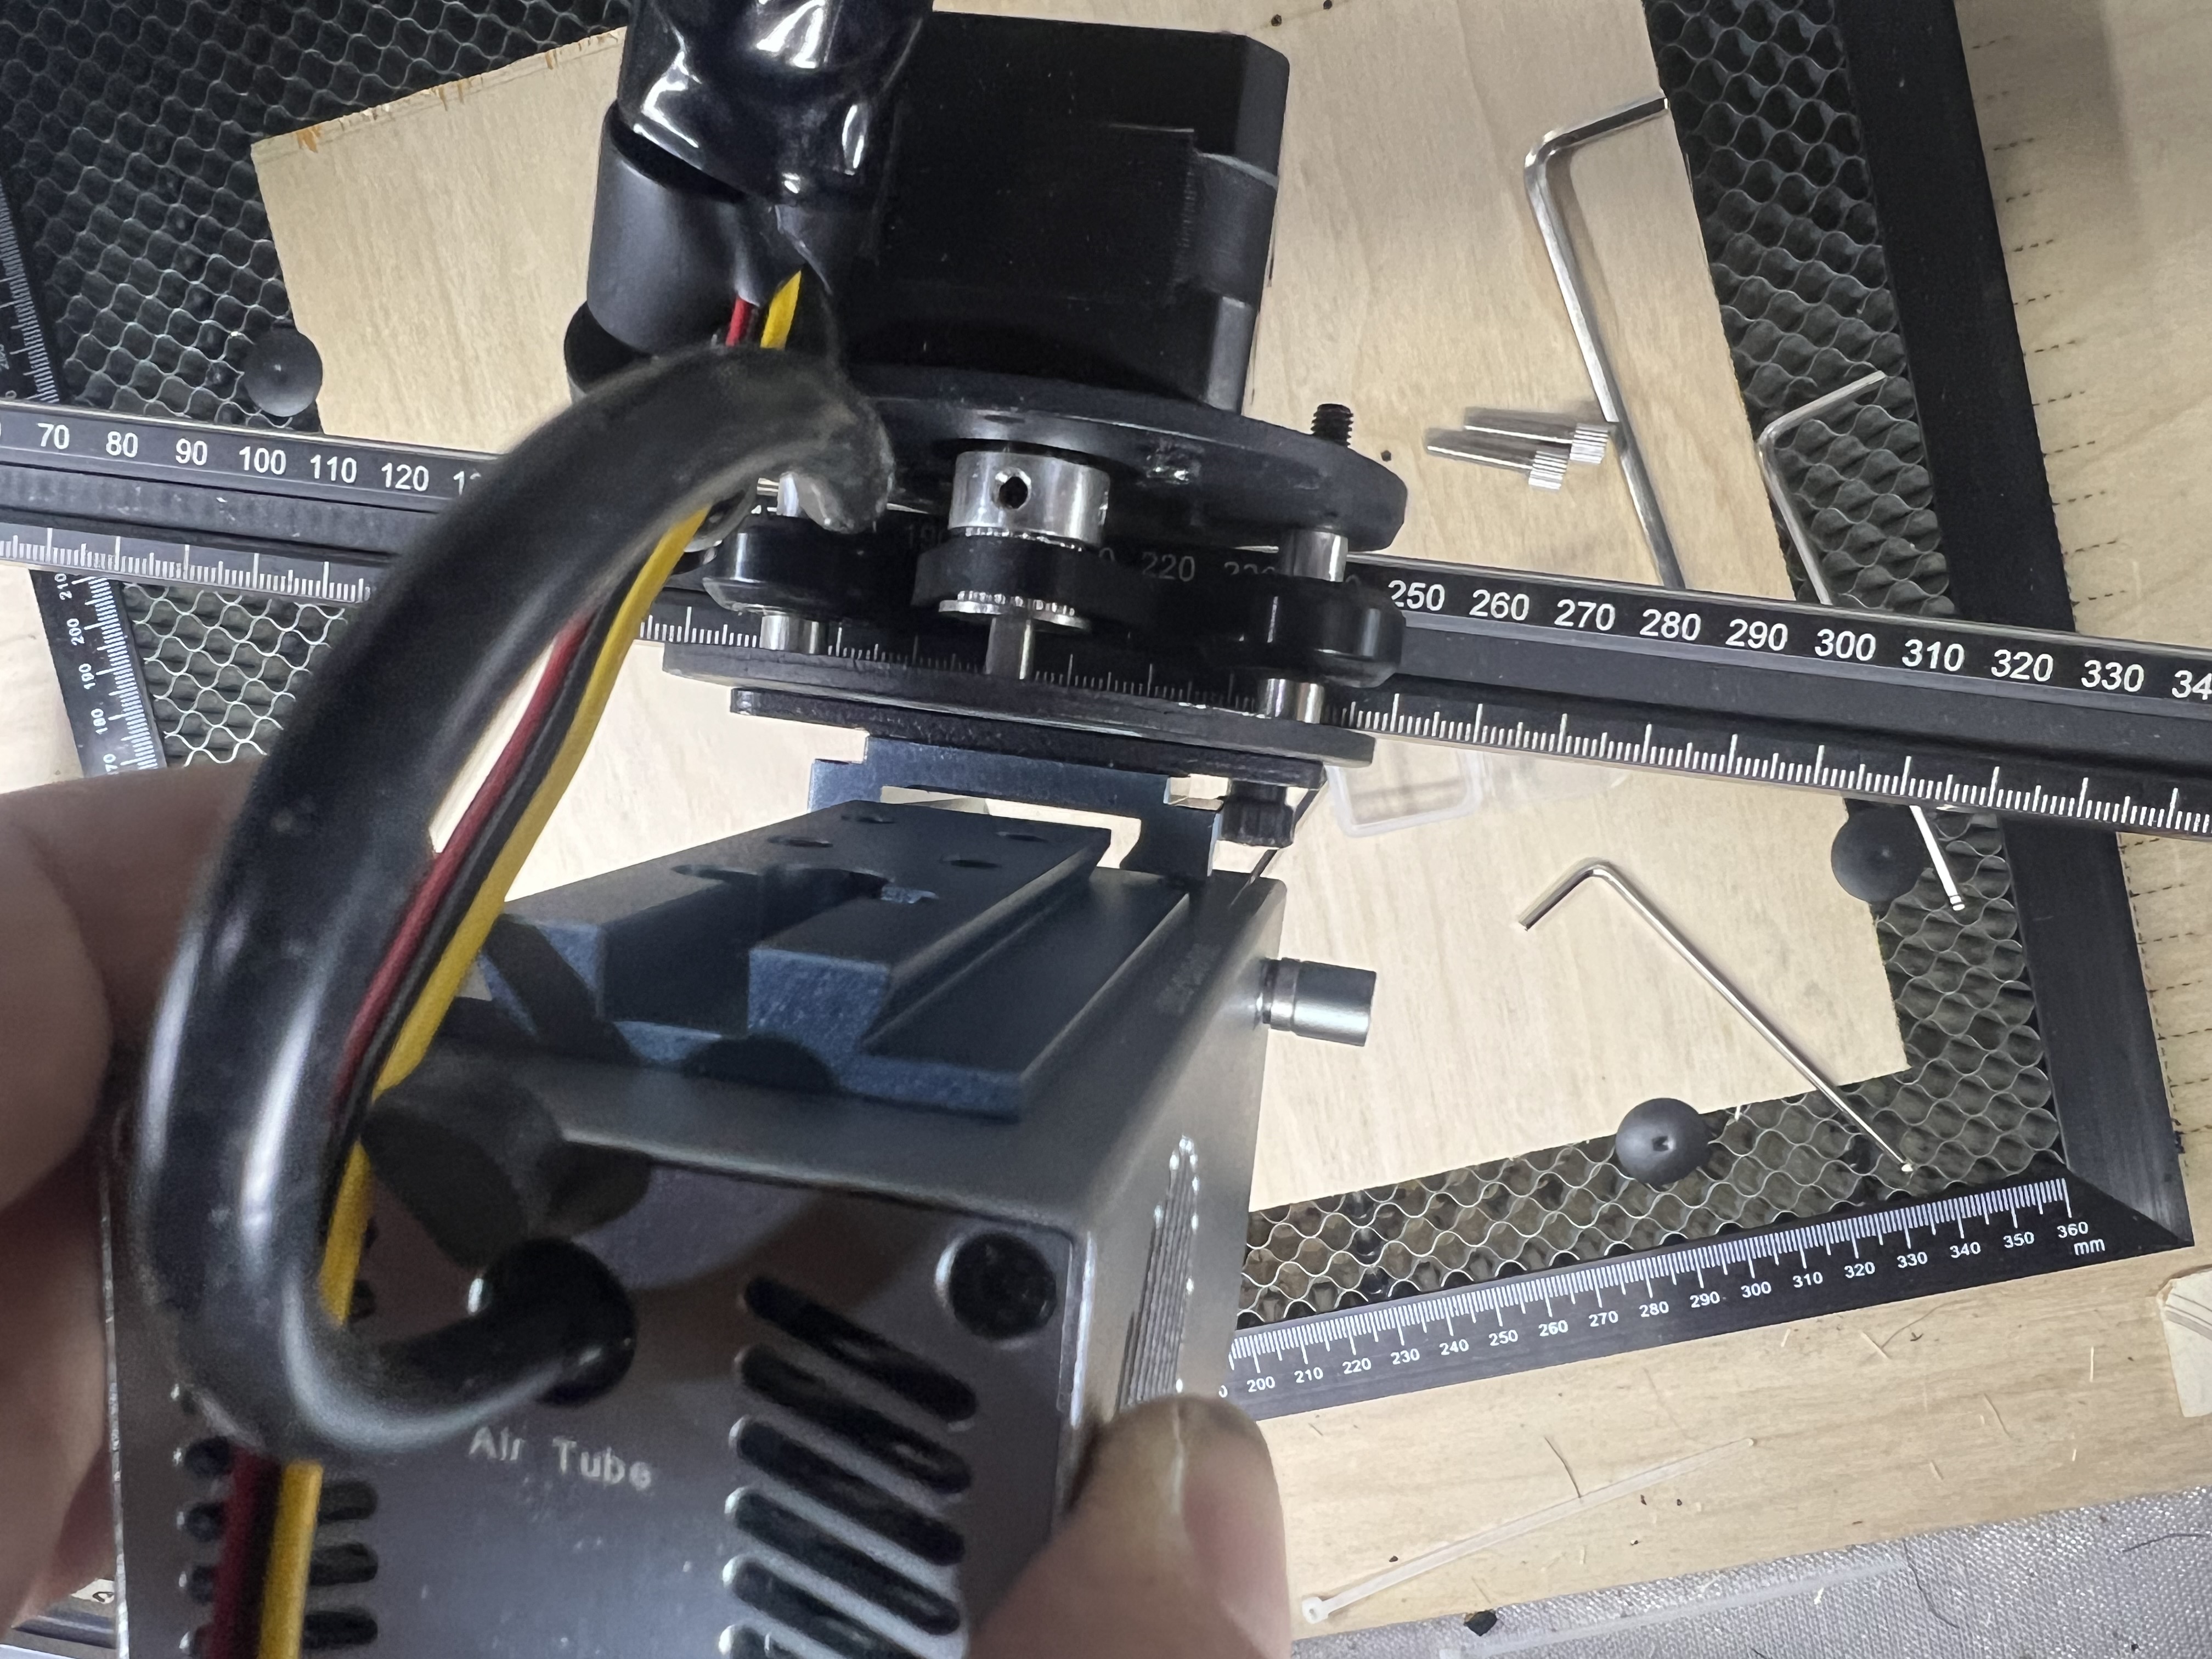
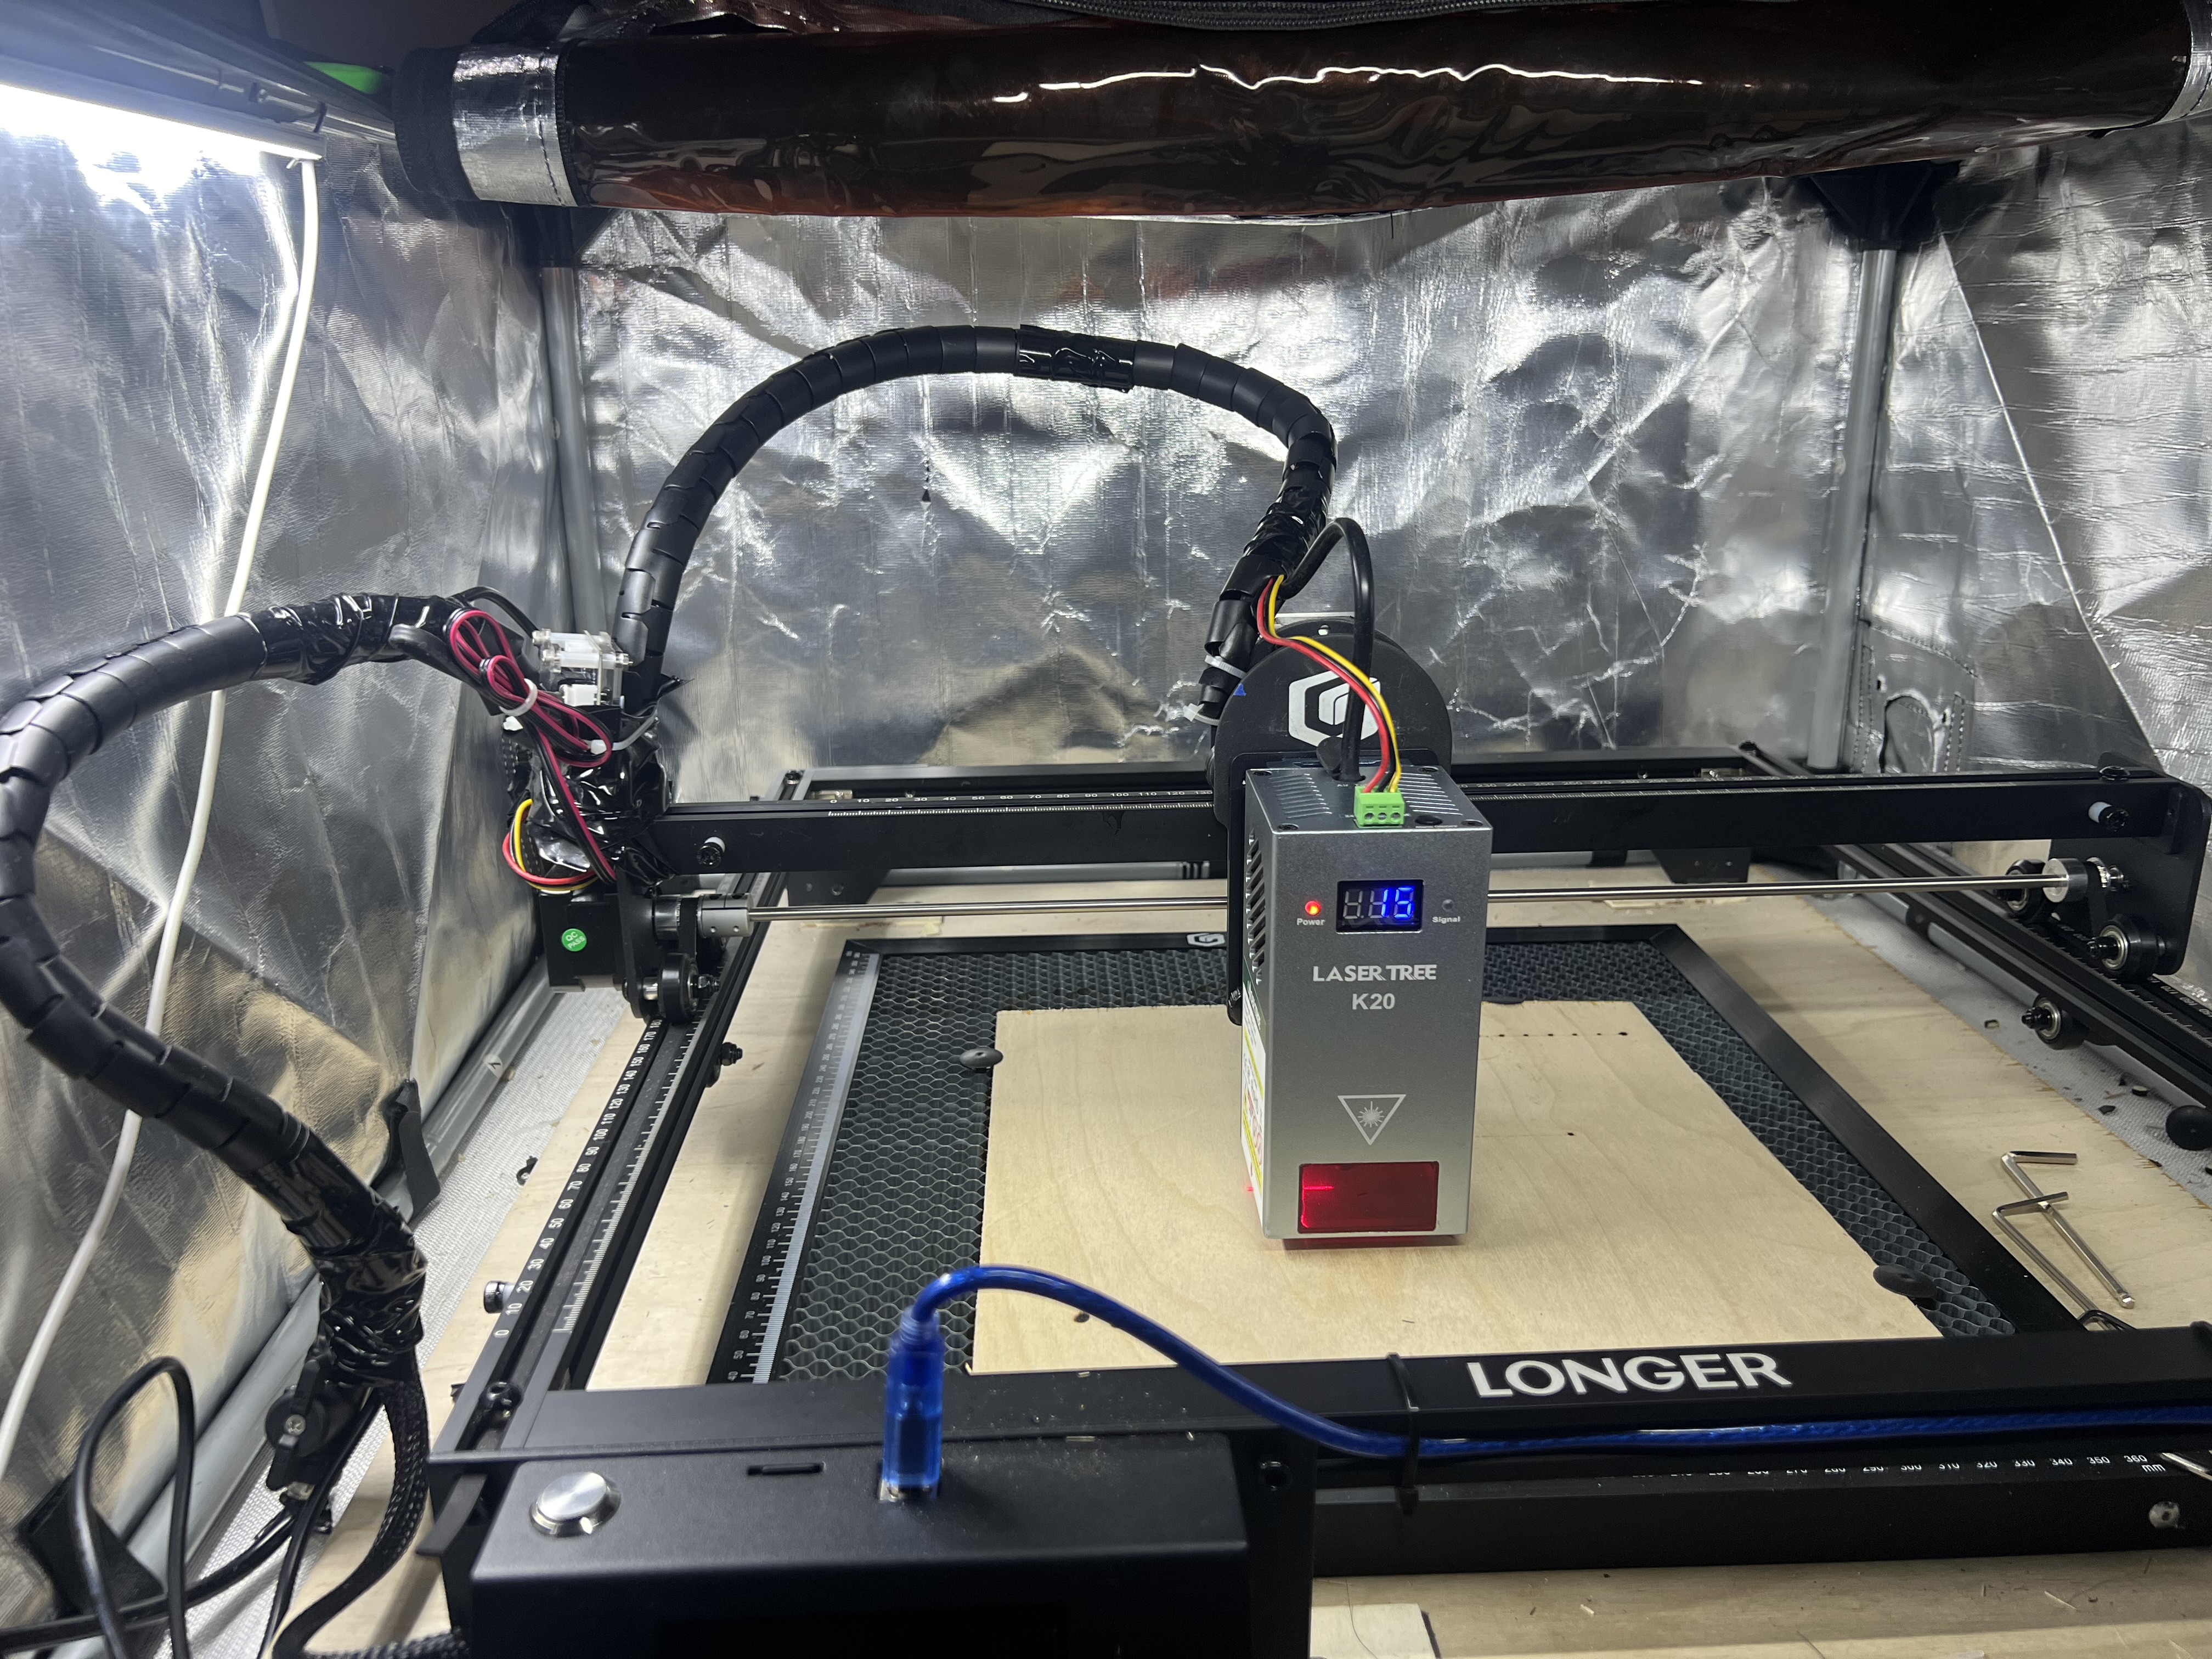
Photo below: The Laser Tree module after it has been slid into place on the Longer Ray5 gantry.
Step 5 - Insert Laser Tree Thumb Screws
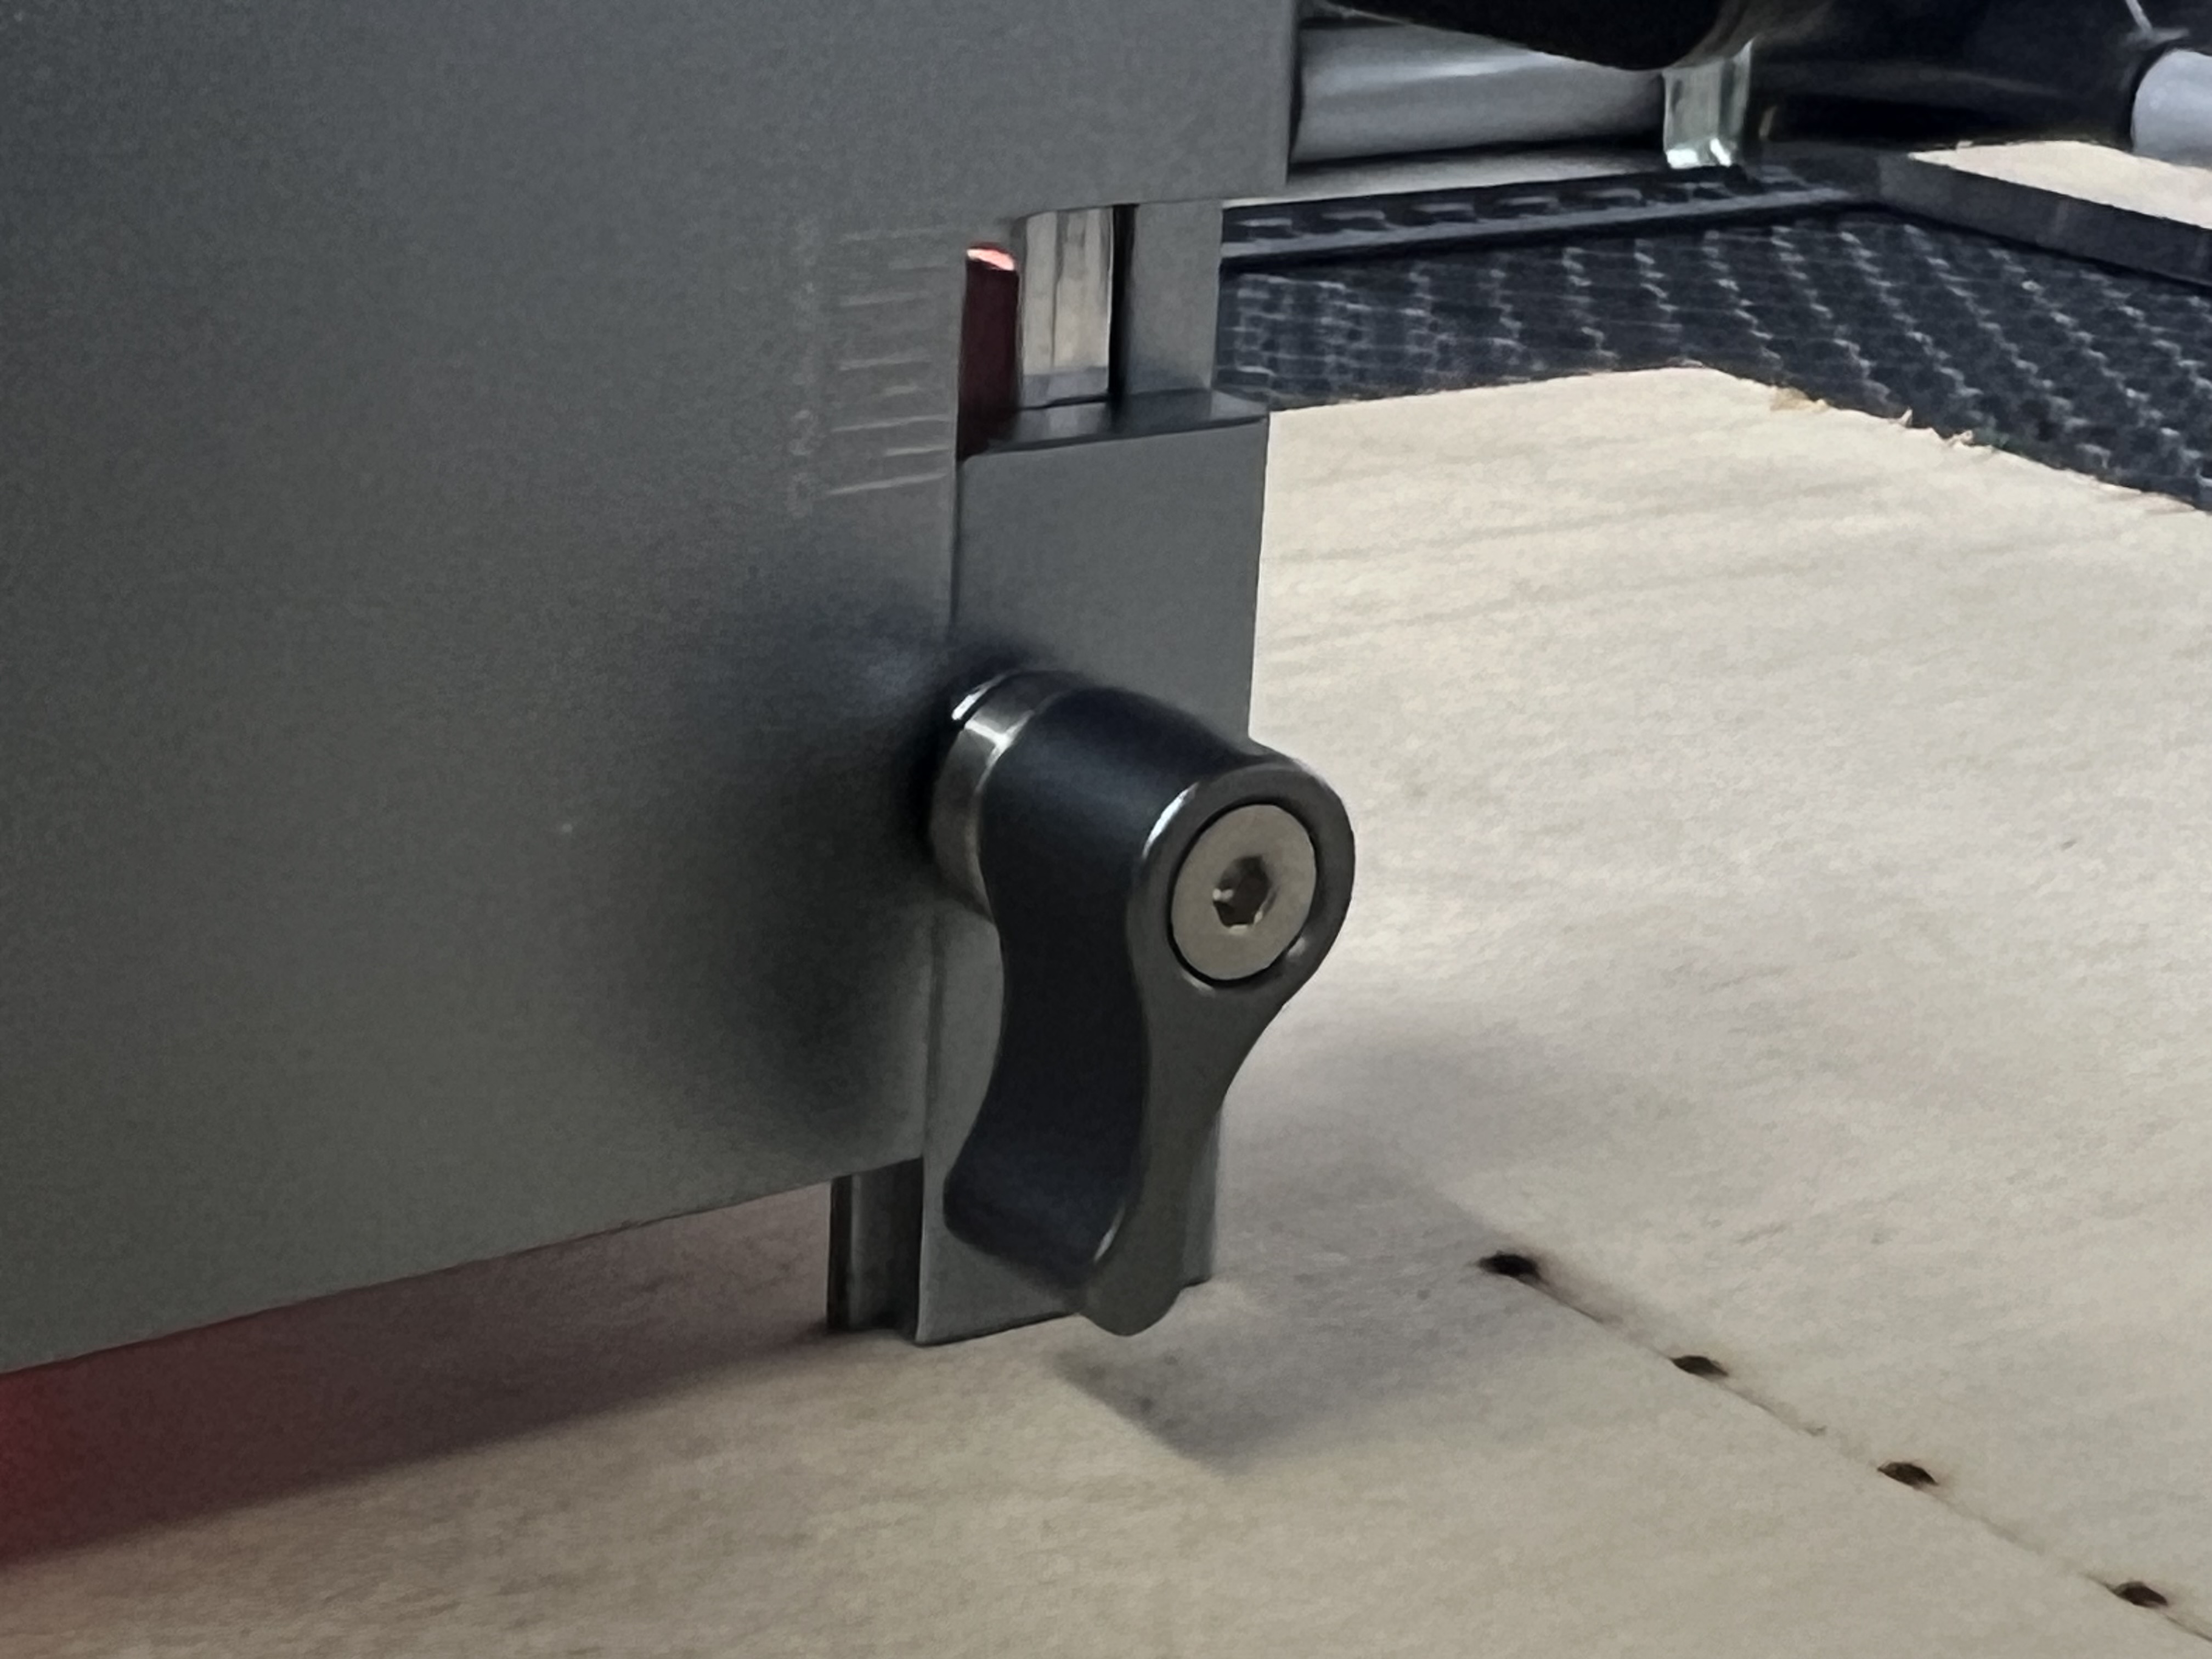
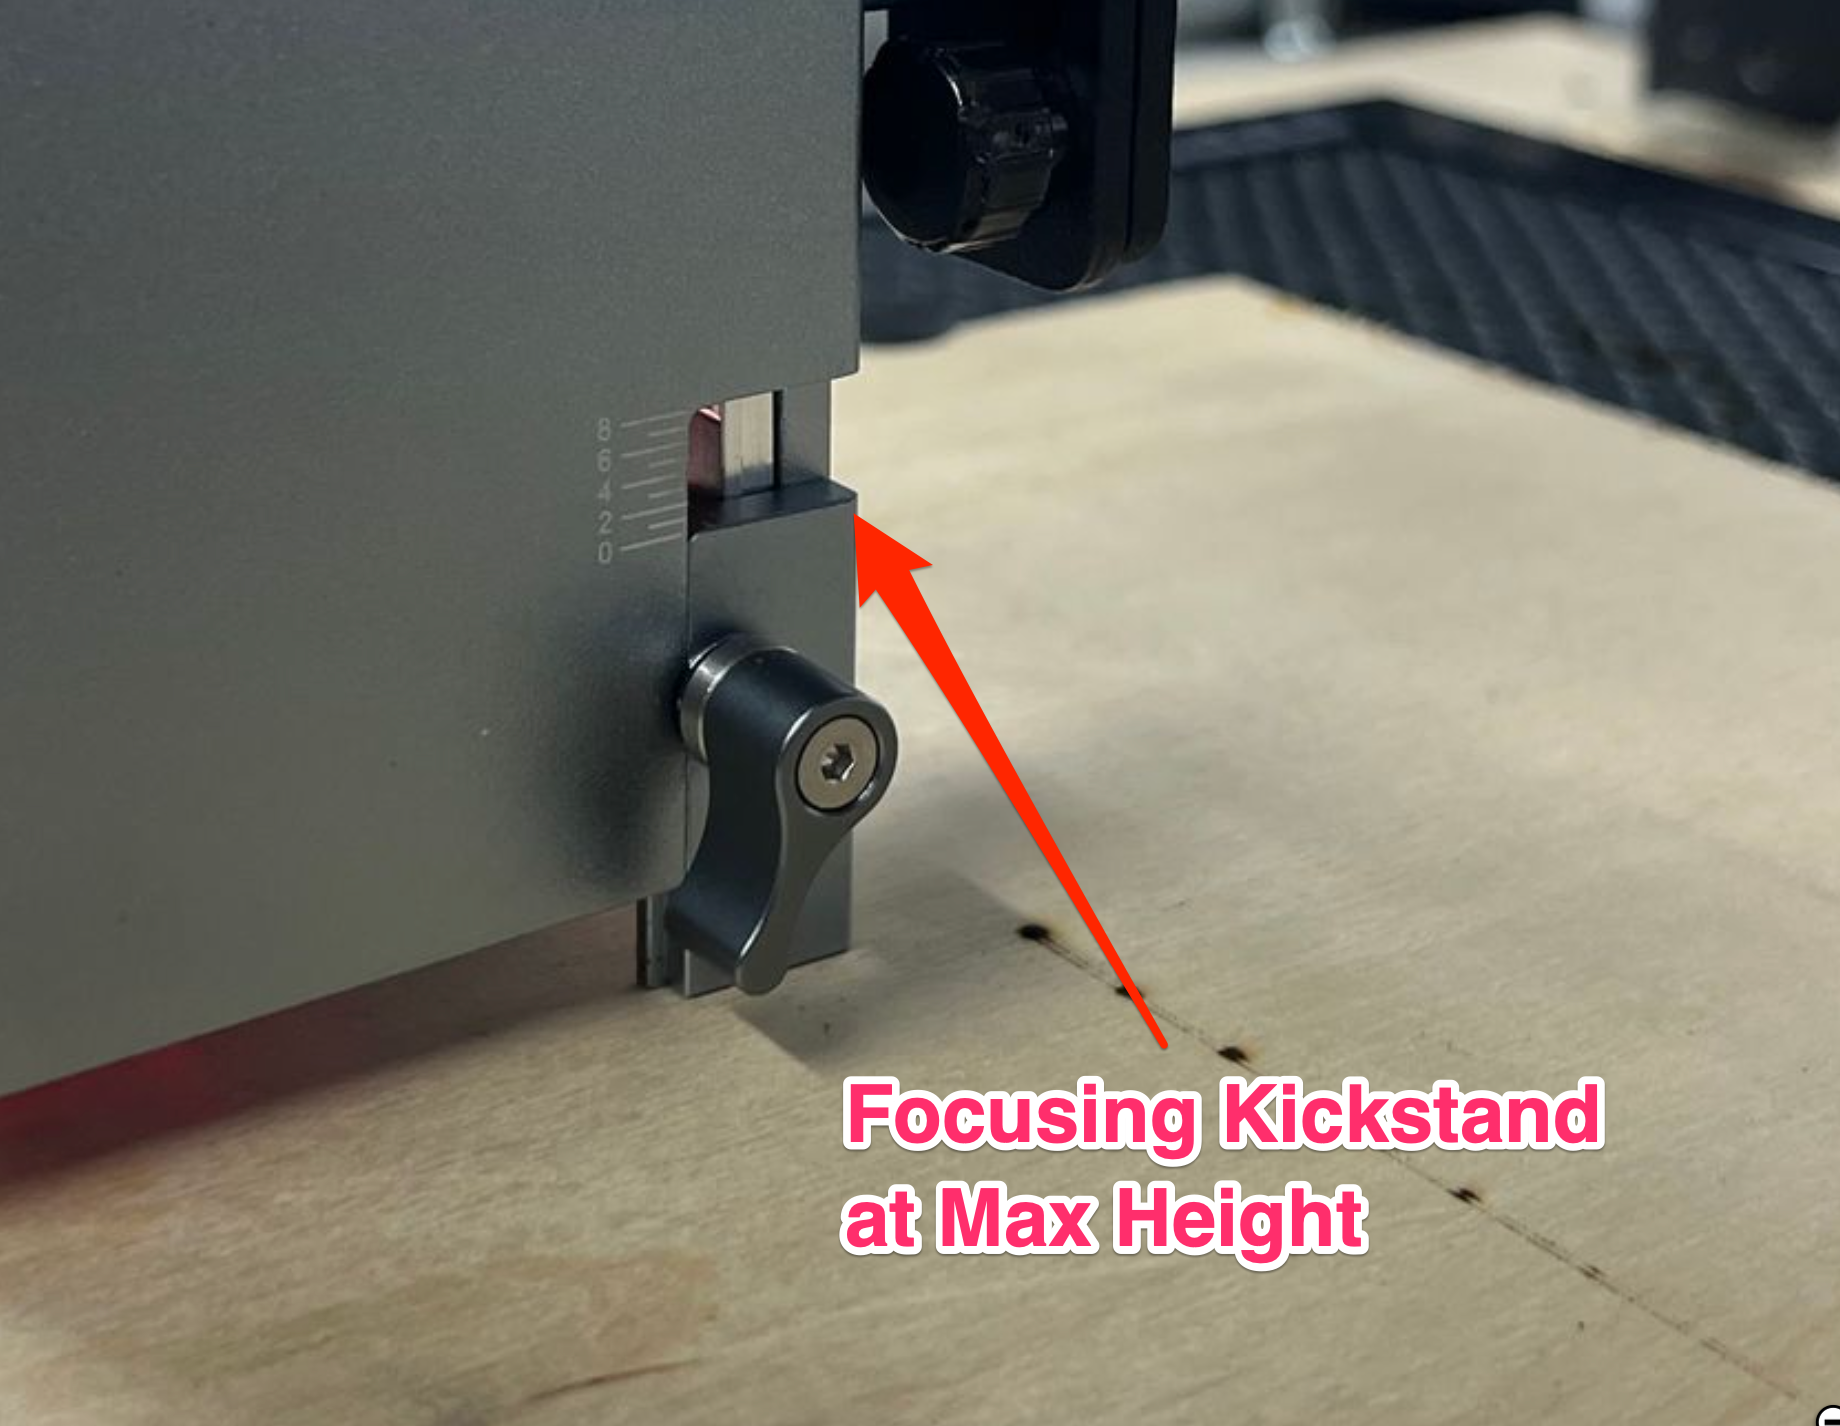
As shown below, you can put the Laser Tree K20 kick stand down, then insert and tighten the Laser Tree Thumb Screws.
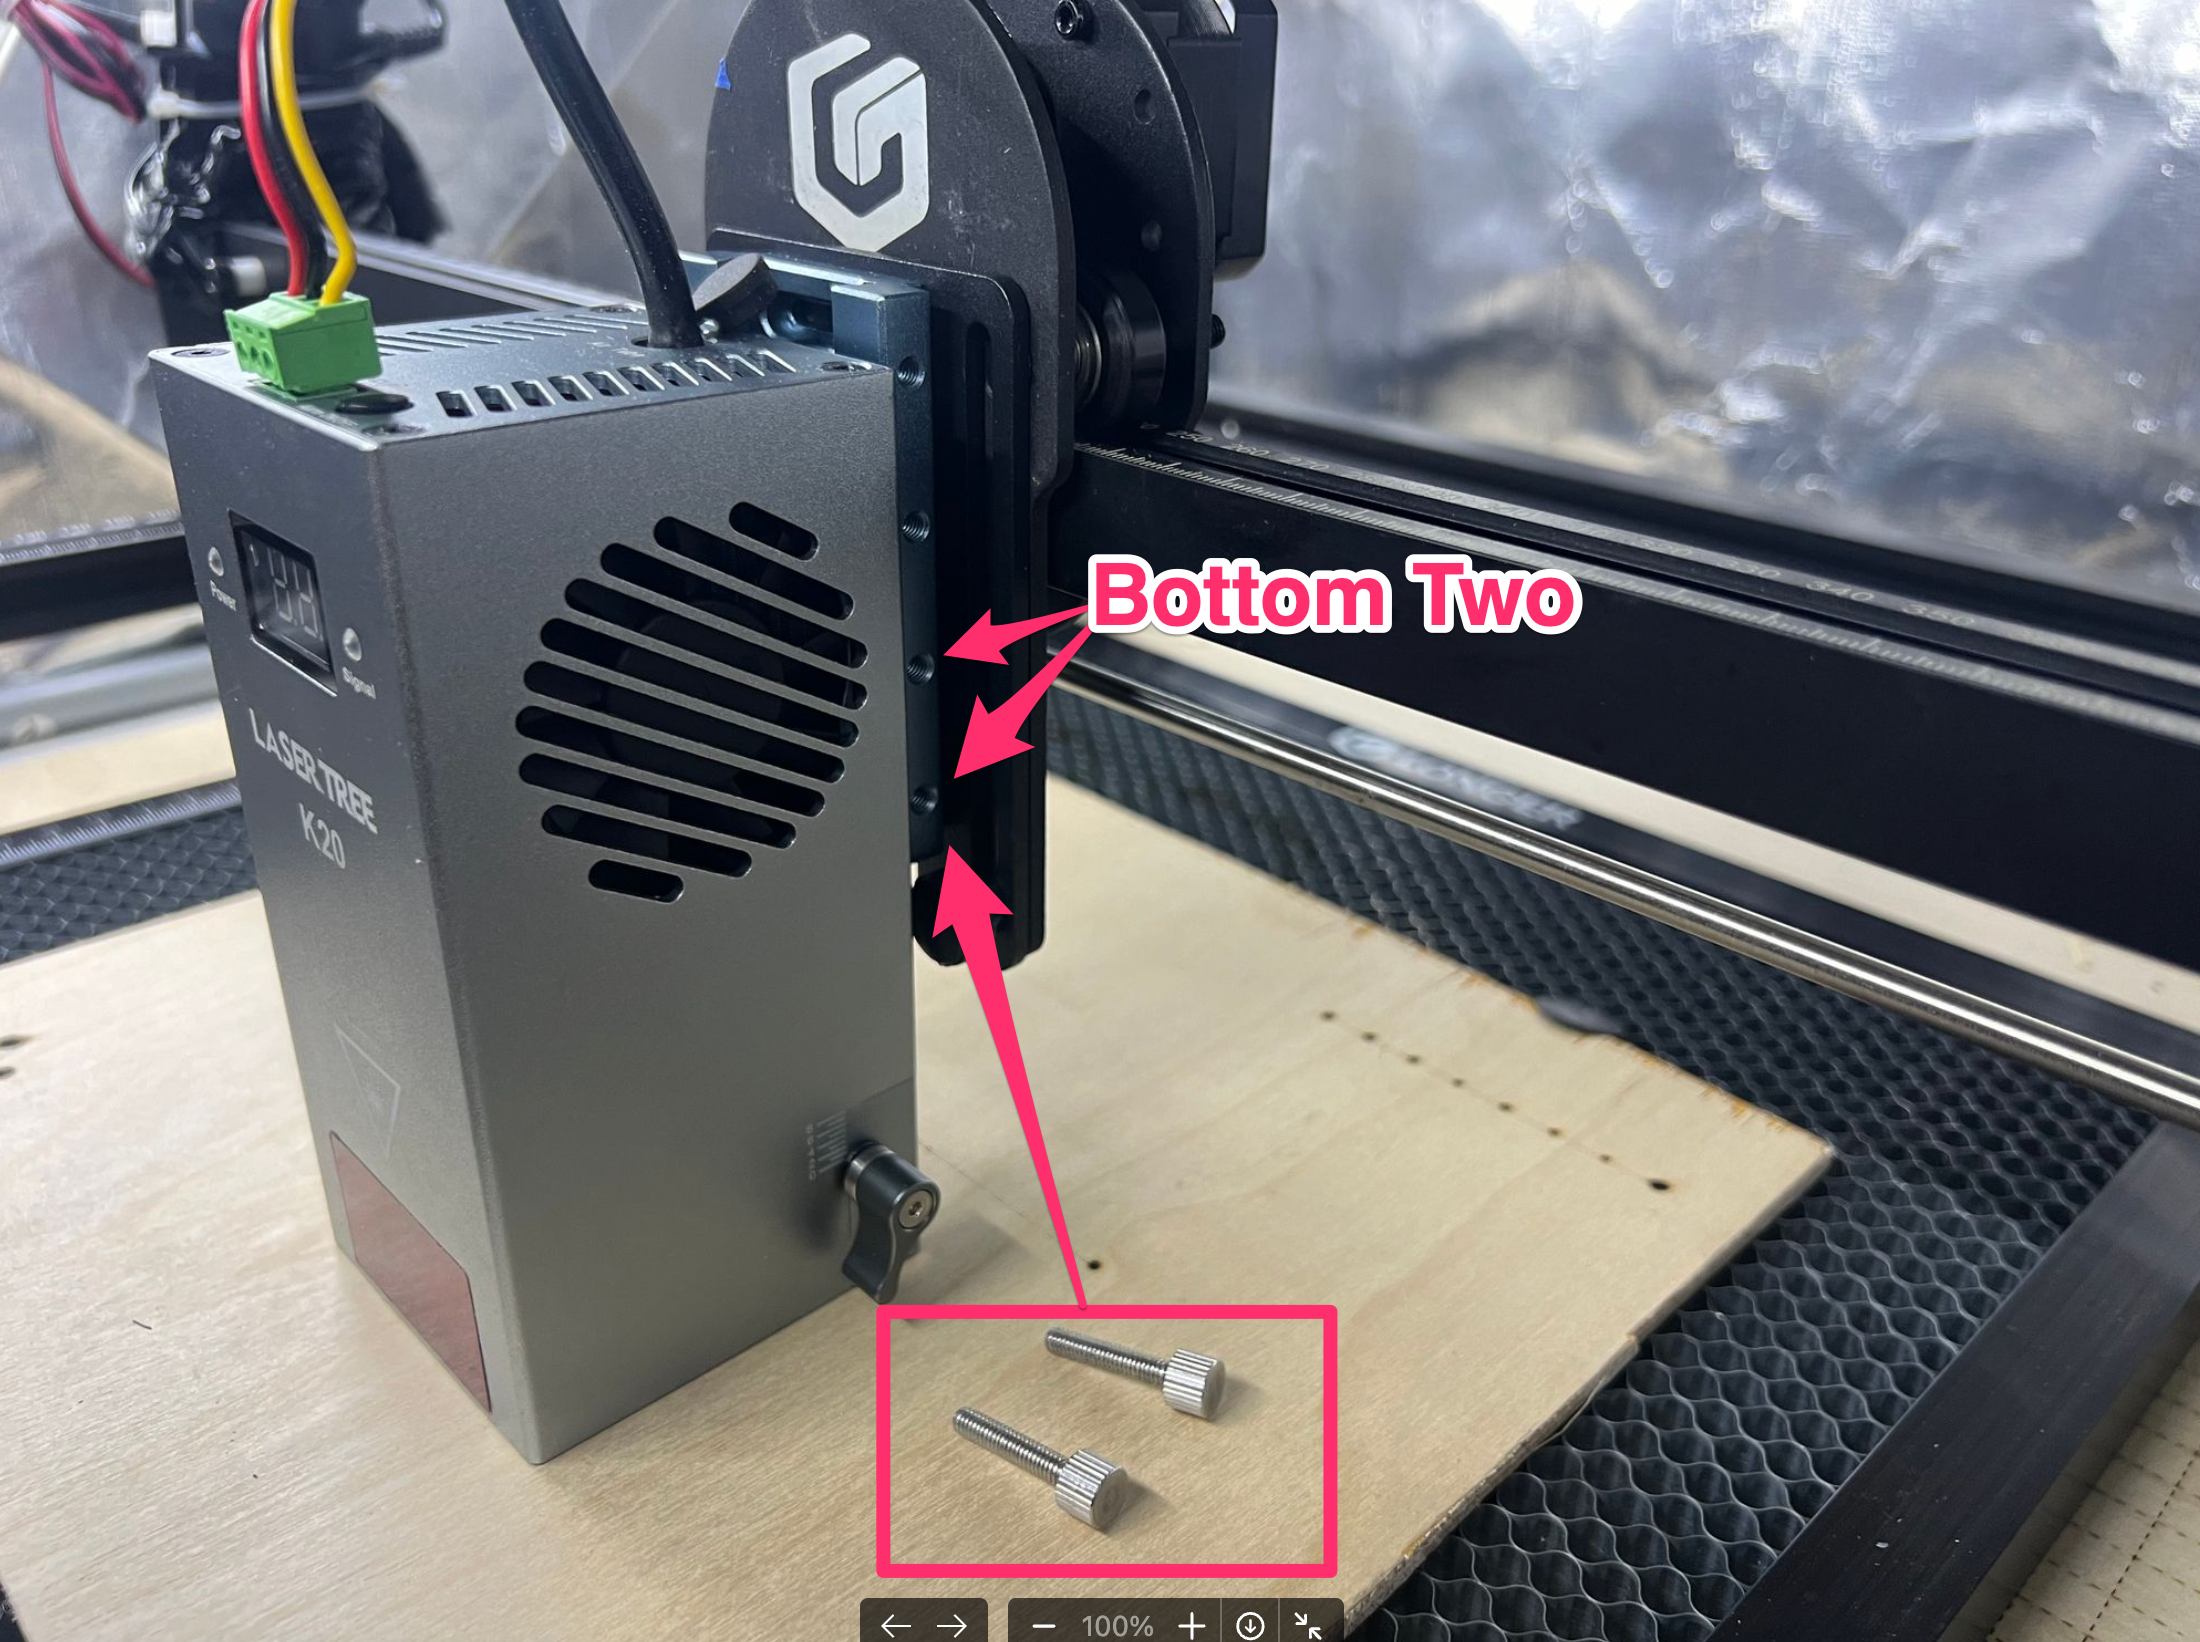
Photo Below: Laser Tree thumb screws installed on Laser Tree slide adapter and Laser Tree module kick-stand setup for engraving.
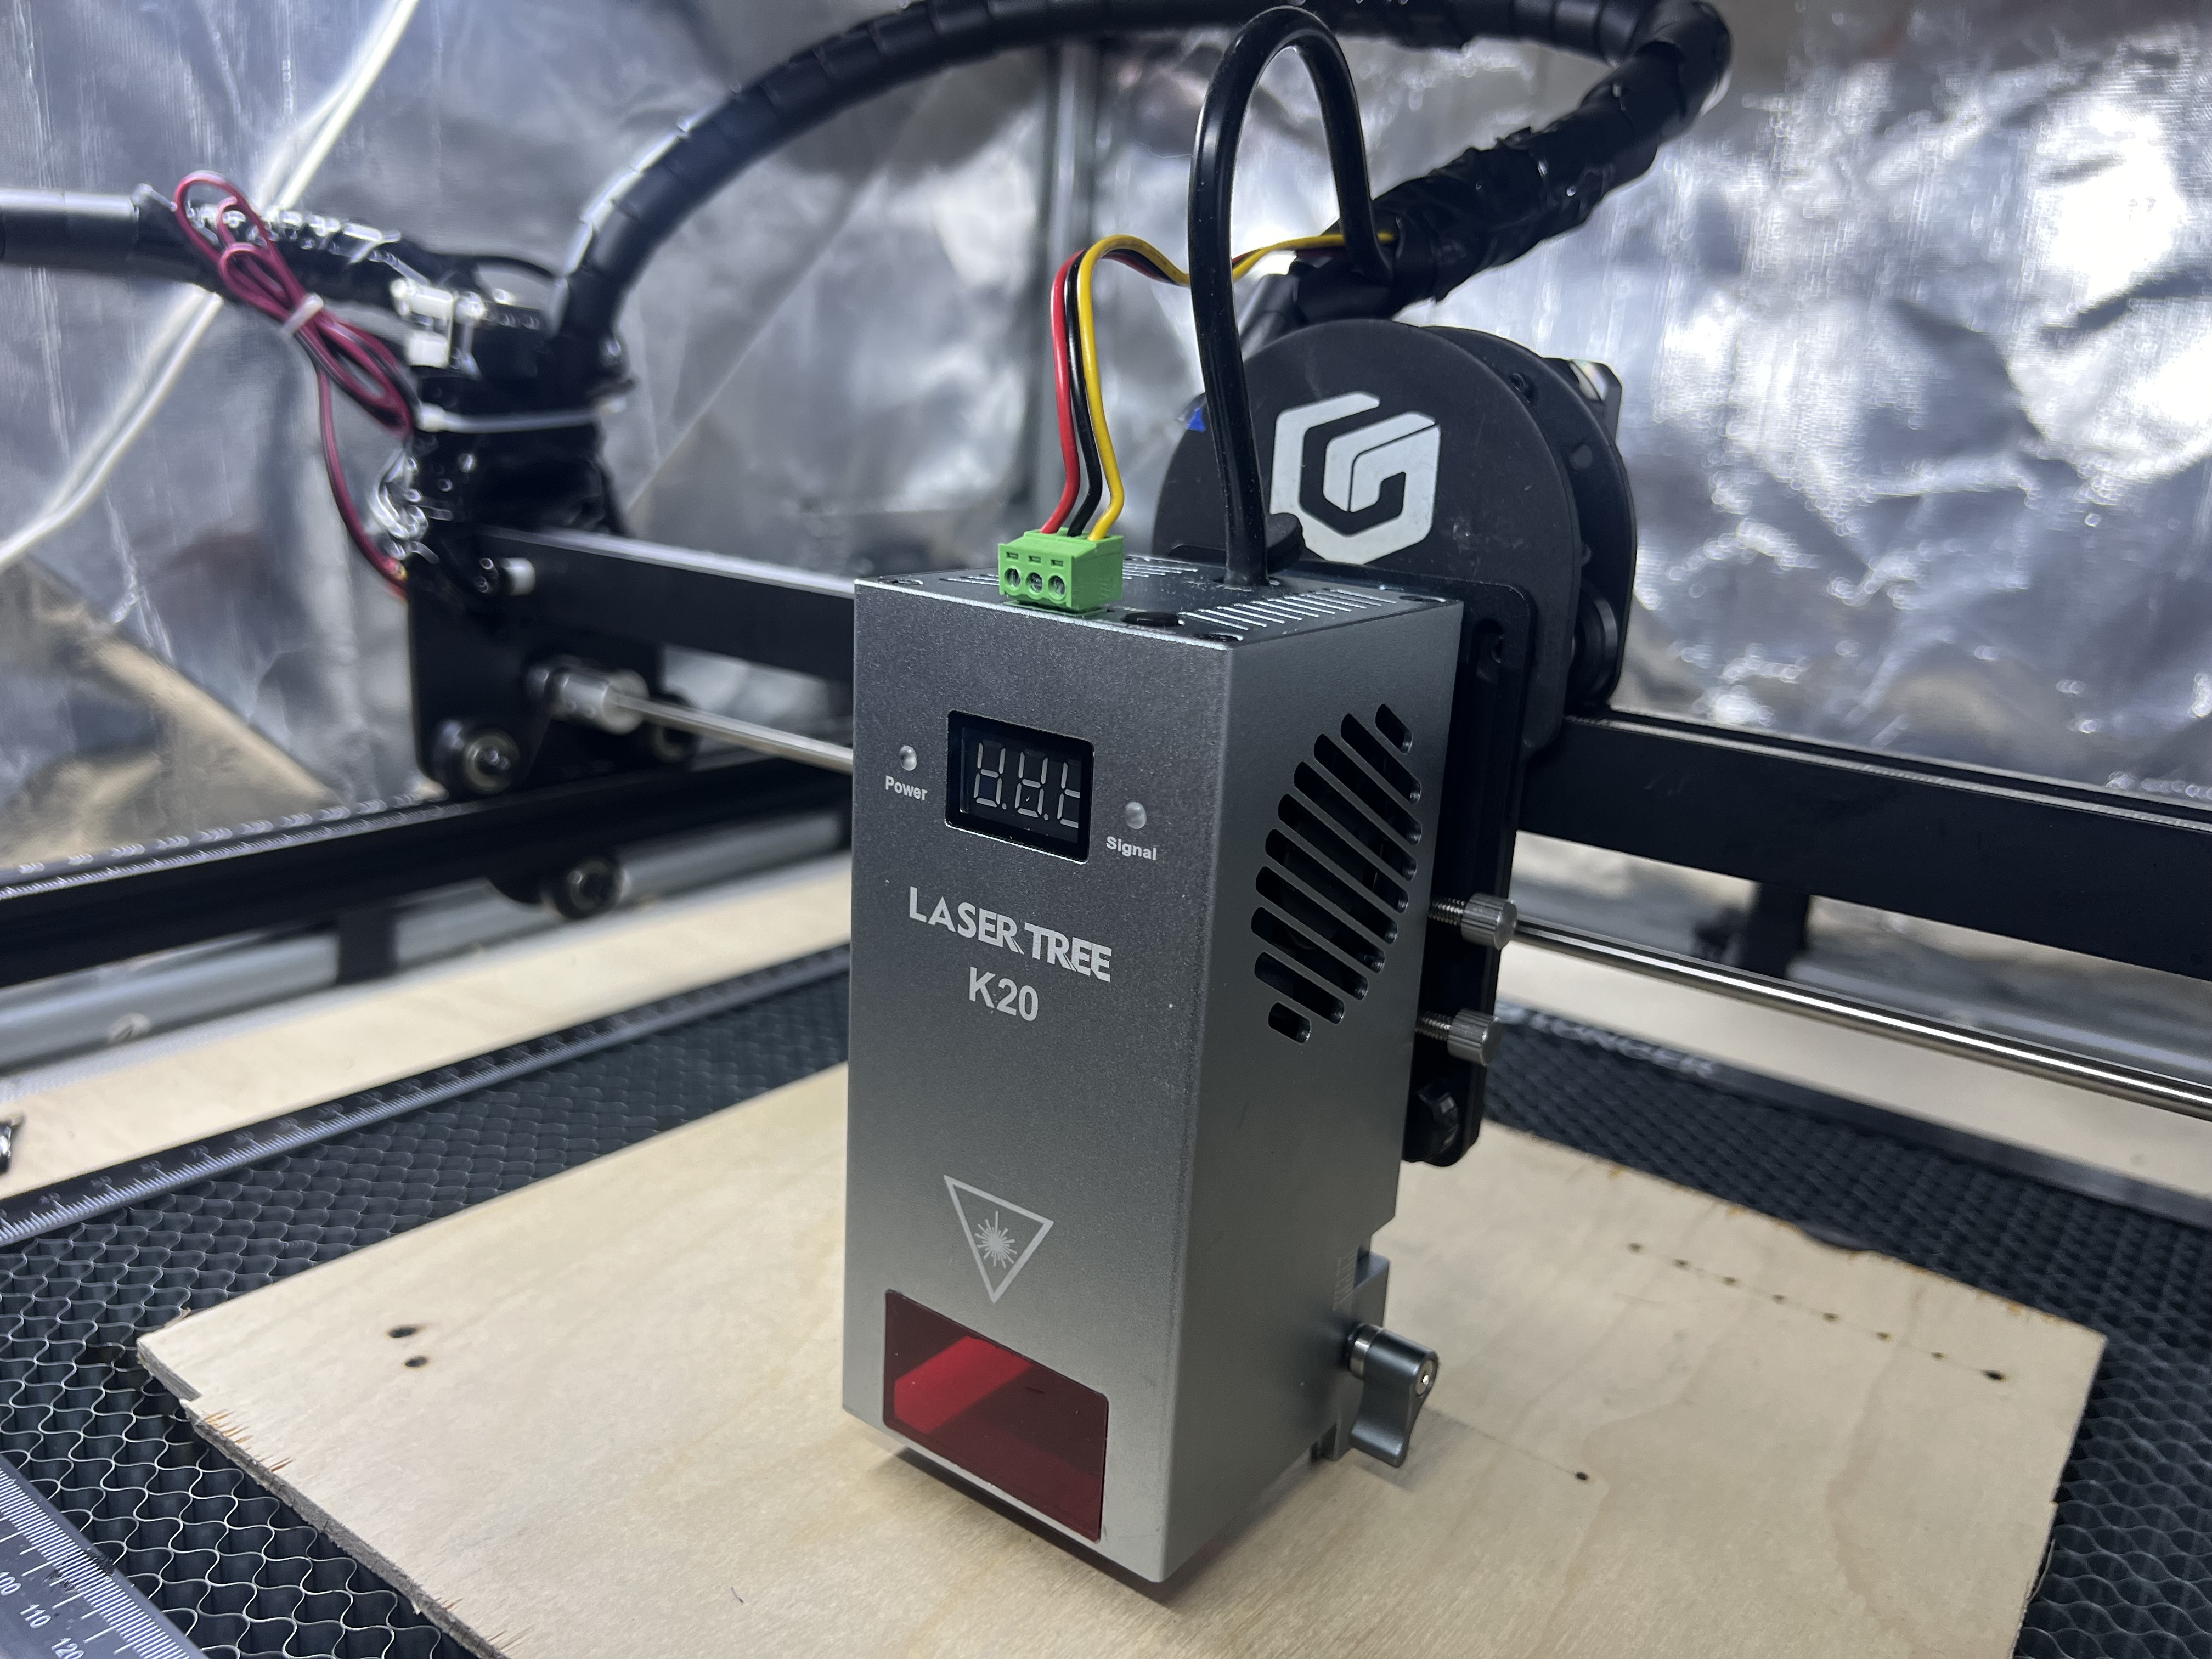
READY TO GO!